Search Knowledge Base by Keyword
SMTP
The SMTP Connector provides the ability to send emails from a user-defined mail server and email addresses, rather than the defaults that are set globally in the Designer configuration.
Once the SMTP Connector is created and validated in the Designer application, it can be attached to an Email Process (further details in the Email Process section of the help pages). This will result in that email process utilizing the defined settings for sending the email, rather than the global settings. You can configure multiple SMTP connectors in an application and bind them to different Email Processes.
You can add an SMTP Connector from the Connectors page by selecting Add SMTP Connector option as shown below:
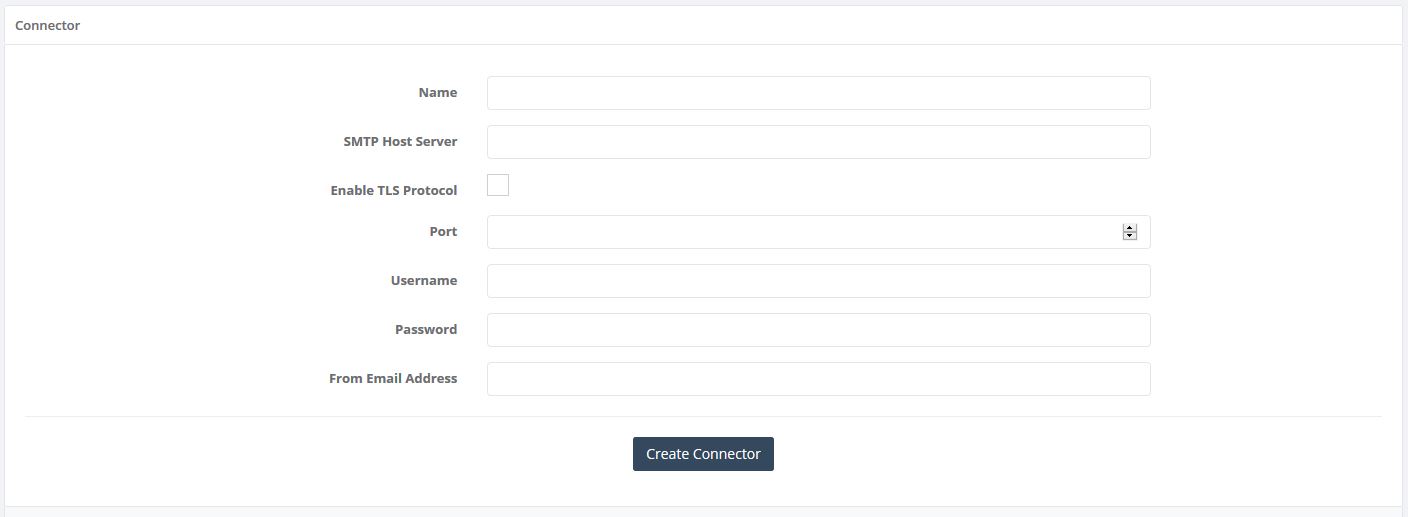
The Name is simply a friendly identifier provided to the connector to help you subsequently identify this instance from other events. The SMTP Host Server is the server that will be used for sending the email.
The Enable TLS Protocol determines if the connection to the Host Server will utilize TLS to encrypt the contents that are transferred during the connection. Note that the option to utilize an encrypted connection will be dictated by the Host Server. You cannot send an encrypted email request to a Host Server that does not support TLS connections. Most mail servers will include several open ports, potentially with differing options for TLS/SSL. Please consult with your mail host provider to identify whether or not TLS is supported or required.
The Port is the connection point that will be used to communicate with the Host Server. This setting should be outlined by your mail host provider and is often indicates in their documentation. The Username and Password are part of the credentials that will be used if the Host Server requires authentication.
The From Email Address is the mail address that will be used as the sender of the mail.
Once an Smtp Connector is created, it will require validation before it can be utilized. You will be prompted with a pop-up that will require entering a target email address. The system will try to send a validation email to this address using the SMTP settings that you provided.
This pop-up can also be accessed through the “Validate Settings” button in the edit menu afterwards.
To complete the validation process and start using the configured Smtp Connector, you will need to click the Validate Smtp Settings button in the mail.
Please note that, when you edit an previously validated Smtp Connector, any changes made to any fields other than the Name will invalidate the connector and you will need to complete the validation process again.