Search Knowledge Base by Keyword
Excel Export
The ability to generate an export from your application in Excel or Word format is especially useful for enabling your users to get printable reports. An Excel export can be preferable when you want your users to be able to analyze the results. In this tutorial we’re going to show you how to create Excel exports in the designer.
Let’s take a look at an example. The application we’re going to be using is an insurance rating tool that contains several pages and calculates a premium for home insurance based on user inputs.

To create an Excel export, begin by preparing your excel template. You can either create a new Excel spreadsheet which will act as a template, or you can choose to use the underlying Excel file for your application for simplicity. Data columns with named ranges that match those from your application will be included in the export. In this example, we’re going to be using the underlying spreadsheet.
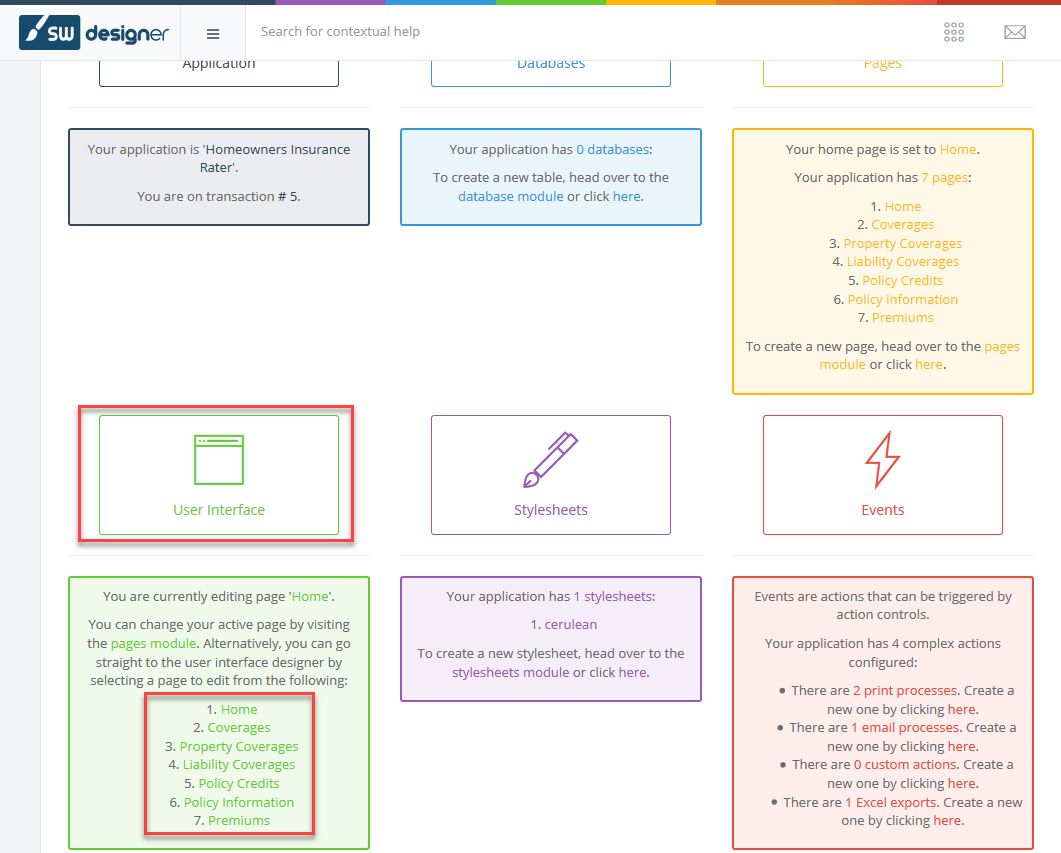
Once you’re ready to upload your file, go to the designer interface, and click Events. You can alternatively click on 0 Excel exports to directly go into the Excel Export Designer page.

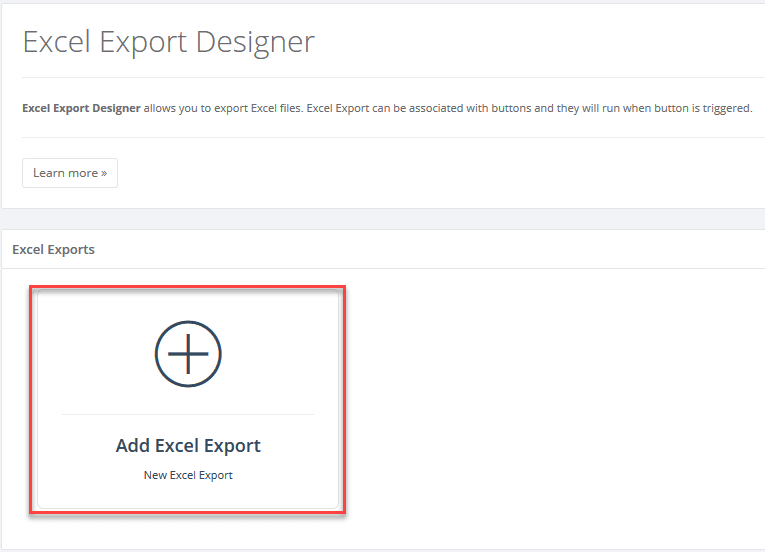
Here, click on Add Excel Export button to create a new process.
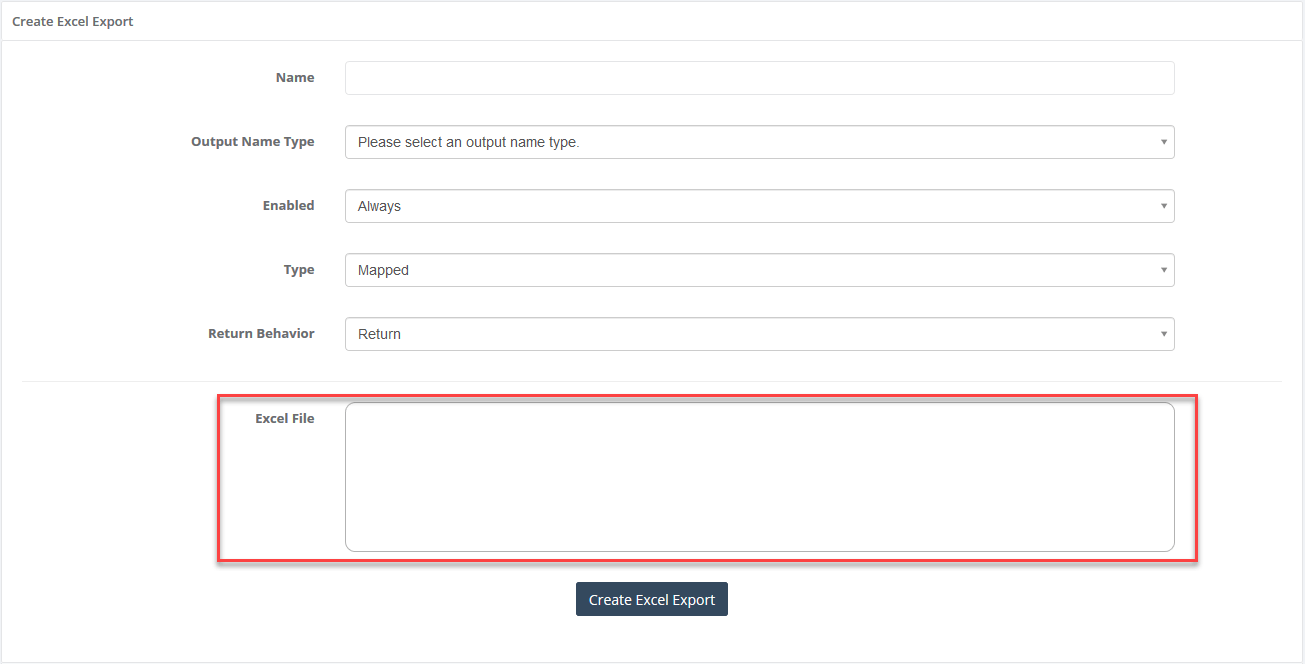
Continue by filling out the details for the export process. Note that the Name field is a friendly name that only you will see during application development and will not be visible to the end users. To use a different Excel workbook than the one you’ve used to create your web application, you must select the Mapped option for type. Selecting Mapped will create a new field where you can upload a separate workbook. Either select your file from the Excel File box or drag and drop your file here. Note that your workbook must contain named ranges to match those being used in your web application. If you use the same names, the system will automatically detect those fields and match them with their counterparts from the web application. If you use different names, you’re going to need to map the names manually after you create the export process. Once you’re ready, press Create Excel Export to create this as a new process.
If you’re using the Mapped option and uploaded your workbook into the export process, you need to map the named ranges from your workbook with those used in the web application. To do this, click the Export Ranges option which appears when you move your mouse over the export process.

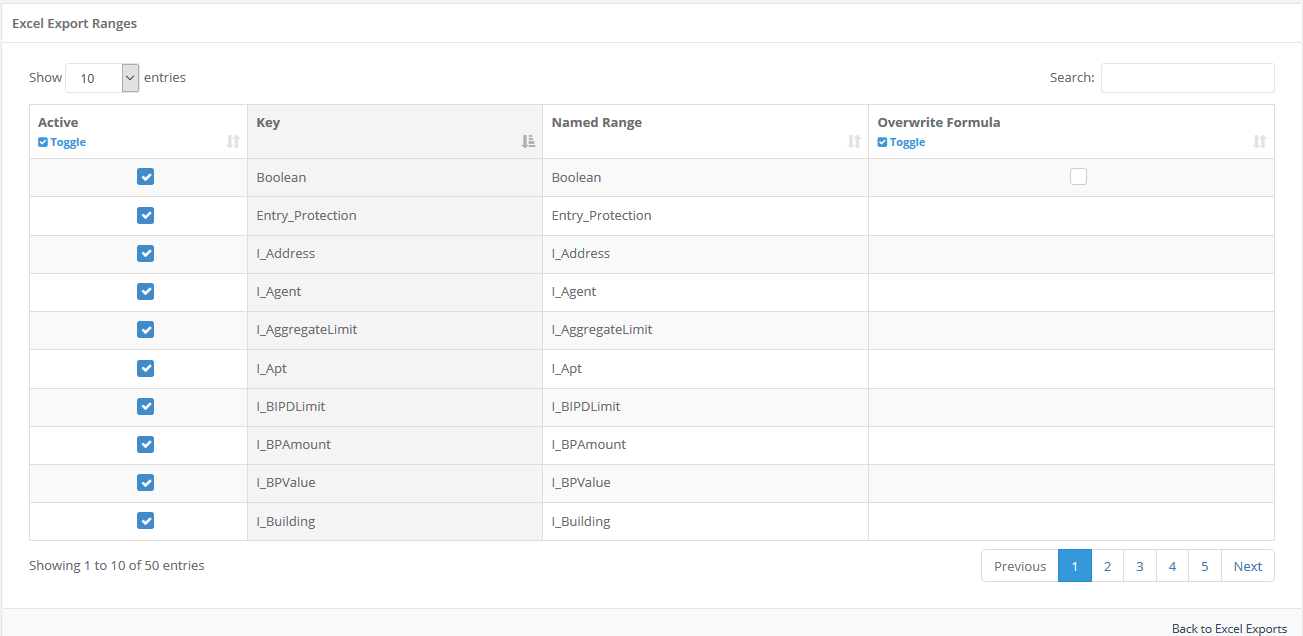
The Excel Export Ranges table will show you the named ranges from your web application under the Key column, and those from your workbook under the Named Range column. You can change the active status of any named range by disabling the Active toggle for a named range. This will make the system ignore those named ranges. Once you map all necessary named ranges, your export process will be ready.
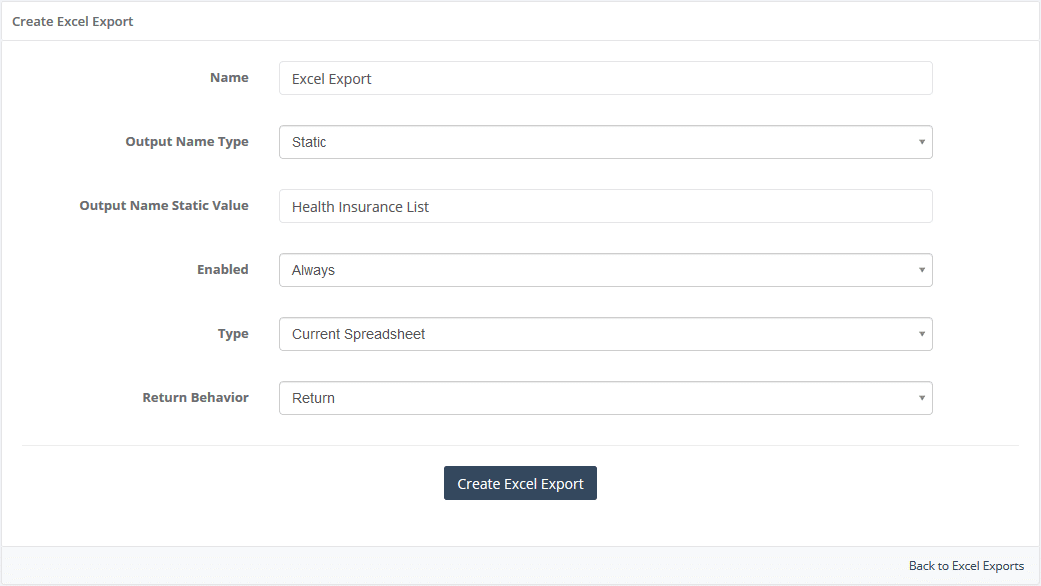
In our example, we assigned a static name “Health Insurance List” to our export files and selected the Current Spreadsheet option from Type to create the export using the underlying workbook. In this scenario, the named ranges in the underlying workbook will be populated with the inputs and results in the user interface.
The new Excel export process must be tied to an Action button in the user interface for users to trigger it. To do this, go to the user interface designer in the designer interface, and click the page in which you want to add this functionality.
The last page of this application contains two buttons – one for saving user data, and the other for creating an export page. To assign the export process to the “Export” button, begin by selecting it. The new print process will show under the Events section in the right-hand menu. Add the new process to the list of active events and remember to press the Submit button to save your changes.

When published, you can click the “Export” button to get an Excel export with your inputs pre-populated.
