Search Knowledge Base by Keyword
-
App Creation
-
- Creating a Designer Application
- User Interface
- Pages and Navigation
- Database
- Print Process
- Email Process
- Excel Export
- Stylesheets
- Custom Actions
- Text Resource (Run-time) Editor
- Queries
- Goal Seek Event
- Solver Event
- Application
-
- Sections
- Containers
- Textbox
- Checkbox
- Dropdown
- Radio Button
- Calendar
- File Upload
- Input Grids
- Slider
- Content
- Output Grid
- Charts
- Maps
- Gauges
- Action Button
- Show all articles ( 1 ) Collapse Articles
-
-
App Management
-
Data Management
-
Users and Teams
-
Developers
-
-
- GetDocumentStubs (Application-Level)
- GetRecordExtended (Application-Level)
- GetRecord (Application-Level)
- GetBatchResults (Application-Level)
- GetResult (Application-Level)
- CloseDedicatedSession (Application-Level)
- OpenDedicatedSession (Application-Level)
- SendEmail (Application-Level)
- GenerateDocument (Application-Level)
- MergeDocumentsExtended (Application-Level)
- MergeDocuments (Application-Level)
- DeleteUser (Site-Level)
- UpdateUser (Site-Level)
- CreateUser (Site-Level)
-
-
-
Administration
-
Changelog
- Version 6.27
- Version 6.26
- Version 6.25
- Version 6.24
- Version 6.23
- Version 6.22
- Version 6.21
- Version 6.20
- Version 6.19
- Version 6.18
- Version 6.17
- Version 6.16
- Version 6.15
- Version 6.14
- Version 6.13
- Version 6.12
- Version 6.11
- Version 6.10
- Version 6.9
- Version 6.8
- Version 6.7
- Version 6.6
- Version 6.5
- Version 6.4
- Version 6.3
- Version 6.2
- Version 6.1
- Version 6.0
- Version 5.2
- Version 5.1
- Version 5.0
- Version 4.8
- Version 4.7
- Version 4.6
- Version 4.5
- Version 4.4
- Version 4.3
- Version 4.2
- Version 4.1
- Version 4.0
- Version 3.5
- Version 3.4
- Version 3.3
- Version 3.2
- Version 3.1
- Version 3.0
- Version 2.5
- Version 2.4
- Version 2.3
- Version 2.2
- Version 2.1
- Version 2.0
- Version 1.6
- Version 1.5
- Version 1.4
- Version 1.3
- Version 1.2
- Version 1.1
- Version 1.0
- Show all articles ( 44 ) Collapse Articles
-
Other Features
-
Connectors
-
Integrations
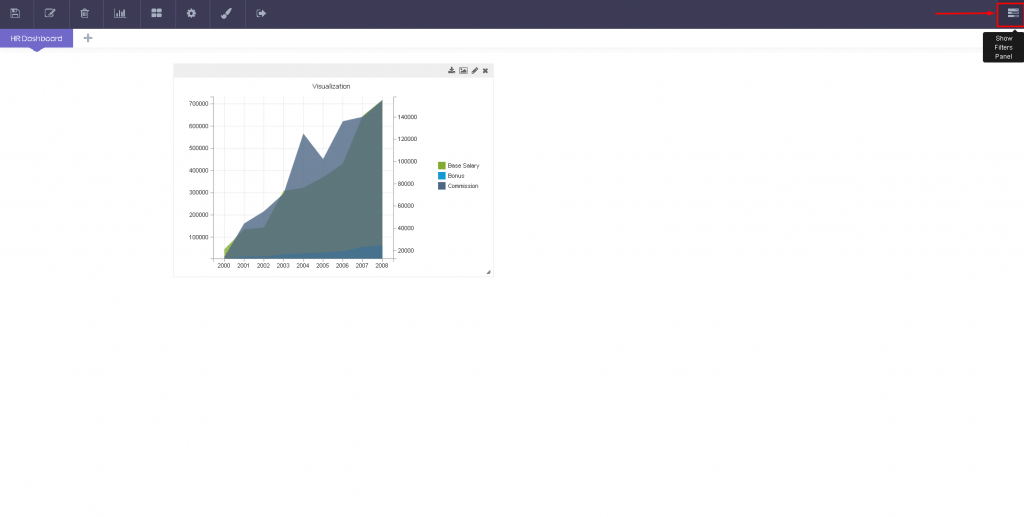
Filters Panel
You can slice-and-dice data that is being displayed on visualizations, using the Filters Panel to the right of the dashboard area. This can help you narrow down the data points being shown, and focus on certain items. You can access filters by pressing the Show Filters Panel button on the top right corner of your dashboard.
The Filters Panel will display all data columns from your data set. Here, you can interact with each filter to narrow down the results being shown on your visualizations.
You can interact with each filter using the corresponding controls. Use the buttons next to each filter to customize them. Clear All button clears all filters and returns them to their default values. Clear button resets the corresponding filter. You can find additional options to further customize a filter under the Actions menu. Filters also have a ‘drill-down’ feature with which your filter selections will also narrow down the available selections of other active filters. This essentially means that you will only get the filtering options that have been funneled through other active filters.

Actions
Edit
Edit button will open the Edit Filter menu, where you can configure that specific filter. You can change the display name from the Filter Name option and select a different filtering interaction from Filter Type.

Pin/Unpin
Filters are not available when a dashboard is opened in view-only mode. You must Pin each filter that you want to be displayed in view-only mode. If you open the Pin menu for a filter that has been pinned, you will see the Unpin button.
Lock
Lock option will lock the filter with your current selection. If the target filter is not pinned, all results will be filtered via the locked option by default.