Search Knowledge Base by Keyword
Custom Triggers
Custom Triggers allow you to create automated emails that match predefined application data criteria in the workflow. While similar to Notifications, Custom Triggers allow you to define a highly customized query and schedule upon which the email notifications will be sent. Any application fields and system fields (i.e. RecordID, LastEdited) that are stored in the primary database can be utilized when creating the custom trigger logic. For example, this module could enable you to generate emails to specific users if a quote has been created that exceeds $1,000,000 in value or if certain input fields are missing in a job application form.
To create and manage Custom Triggers, click the Custom Triggers button on the Data page.

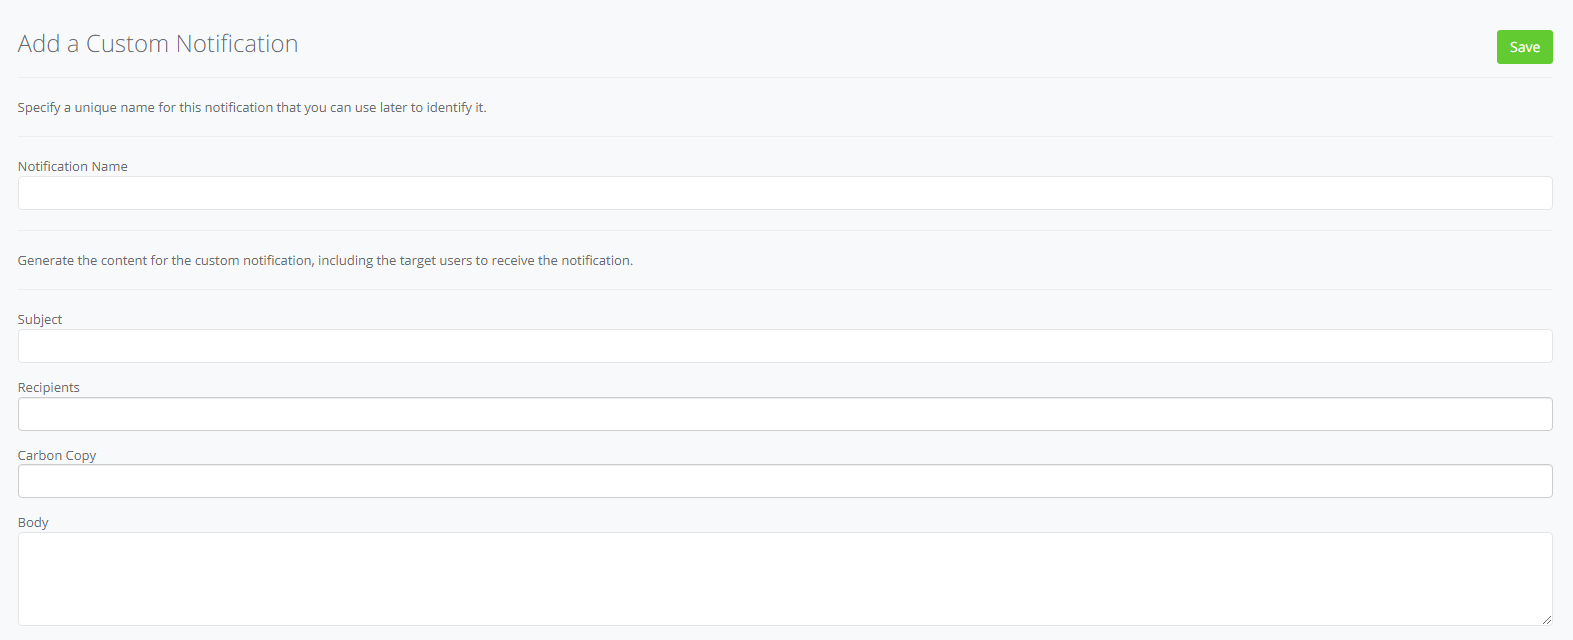
The Custom Notifications page is where you can find the active triggers and define new ones. Click the Add Custom Notification button to create a new rule.

Pressing the Add Custom Notification button will bring up the menu where you can configure the email details and setup the triggers, by which email notifications will be sent.
The Notification Name is a friendly name that you can use to differentiate custom triggers from one another. Your end users will not be able to see this value.
The Subject data will be populated on the Subject line of the generated email.
The Recipients input allow you to select the system users who will receive this notification email. Note that you cannot enter any static email addresses here and the recipients must be selected from a list of the available system users. ActionUser in this context is the ‘owner’ of the Custom Trigger action (in other words, whichever user has created the Custom Trigger), and TargetUser is the owner of the record that is being queried.

The Carbon Copy field will allow you to select from system users that will be copied in the email. The list of users is the same as the Recipients option.
You can enter the email contents into the Body section. In addition to static text, you can also use any of the placeholders given below this field to add dynamic values, such as the application or record links. These tags will be replaced with the corresponding data when the email notifications are triggered.
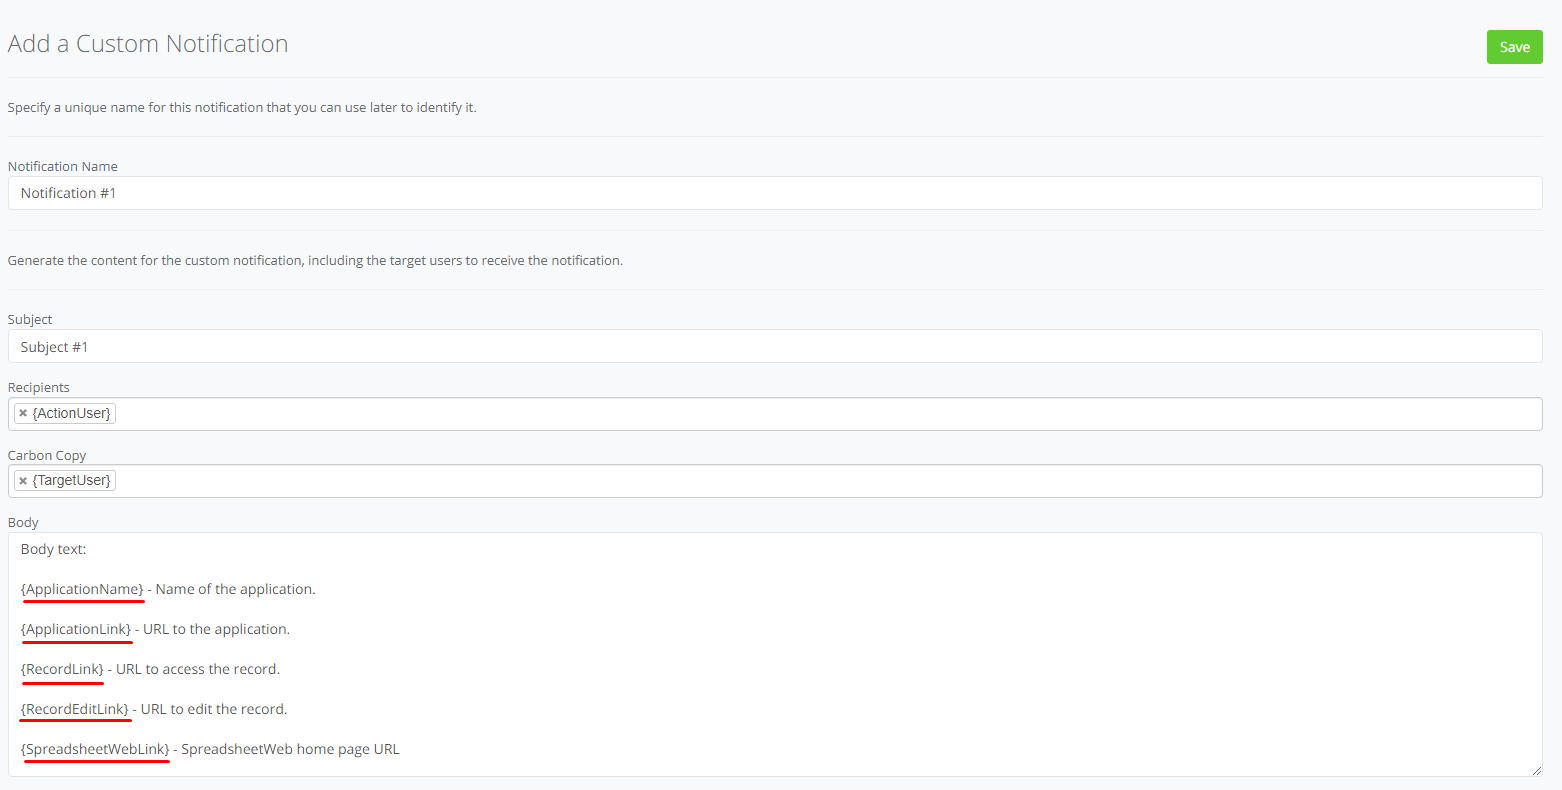
{ApplicationName} – Name of the application.
{ApplicationLink} – URL to the application.
{RecordLink} – URL to access the record.
{RecordEditLink} – URL to edit the record.
{SpreadsheetWebLink} – SpreadsheetWeb home page URL.
You can build the notification trigger logic using the section underneath the email details. Let’s start with how the logic-builder works.
Pressing Add rule adds a new module to the same level as the button is in.

Pressing Add group will add a new group of rules one level lower than where you clicked the button.

You can click the Delete buttons to remove any rule from any level. The hierarchy schema is shown by the ‘tree branches’ on the left of the module. Items that are on the same level will be tied with one straight line, whereas subgroups are shown with an indent.
AND/OR selectors will be available if you add more than 1 item into a group. The active selection will be highlighted with light blue, whereas the inactive will be dark blue. In the example below, the first set is AND, the second set is none because there’s only 1 item, the third one is set to OR.
These selectors indicate whether any or all conditions are to be checked for that group. If AND is selected for a group, it means that all conditions underneath that group must be met for emails to be sent. If OR is selected, any conditions satisfied under that group will trigger the notifications. Both options will be grayed out if there’s only 1 item underneath that group.
The first dropdowns for each item will contain all available data fields from your application, including system fields like RecordID. Selecting a data field from any of the dropdowns will populate the next two options: a logic operator and an input field. These two fields will depend on the data type of the field selected before them. For example, numeric data types will have options like ‘equal’, ‘less than’, ‘greater than’ in the second dropdown, while string data will have options like ‘contains’, ‘starts with’. The third input field is where you can enter the desired value for the logic check. The second row below will look for all records that have an “I_BuildingValue” of 1,000,000 or greater.
The next set of options determine how frequently the system will check whether the predetermined conditions are met and email notifications are going to be sent. If you select Run Only Once and click Save, the system will check for the conditions beginning at the Start Date, until the End Date time and will send out the notification emails once, as soon as the conditions are met.
The Recurring Job option will allow you to select a Recurring Interval and Recurring Type in addition to a time frame. The system will run a check against the defined conditions at every interval and send out email notifications for each saved record that matches the conditions. However, the system doesn’t track whether an email was sent for a given record at a previous job. This means that all records that match the preset conditions will trigger an email notification.
Let’s assume that we want to create an email notification system for ‘special cases’. For example, we might want our managers to take a second look at certain quotes that have been recently created, cover high value buildings, and are subject to low deductibles. We could setup a condition schema like below.
This rule reads: “Look at the 3 conditions below and send an email if all conditions are true (because AND is selected at the highest level). These conditions are
- The record was created in the past 30 days.
- I_BuildingValue is greater than or equal to 1,000,000.
- I_DeductibleBldg is less than 1,500 OR I_DeductibleBP is less than 2,000.”
If all conditions above are met, and the Schedule Type is set to Run Only Once, the system will send out emails once, for the records that meet these conditions between the given time frame. If the Schedule Type is set to Recurring Job, the emails will be sent for all matching records, every time, when the recurrence time is hit.