Search Knowledge Base by Keyword
Pages and Navigation
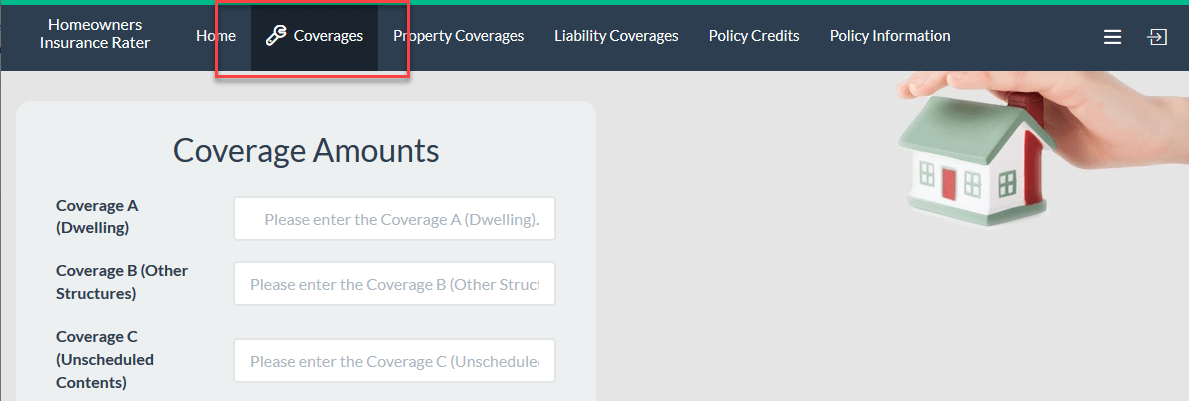
You can create any number of tabs from the Page Designer in the designer interface.
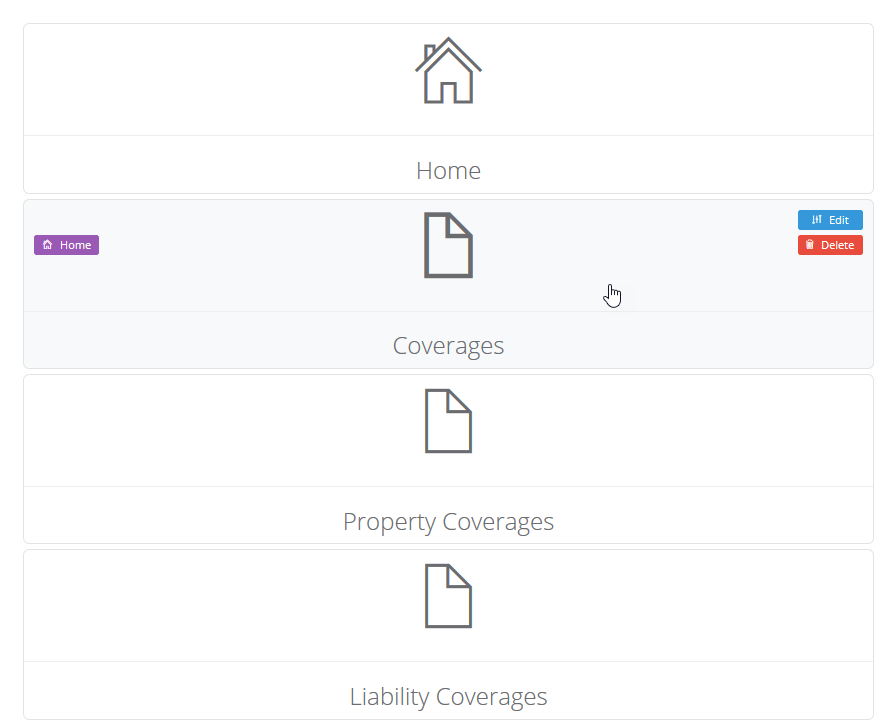
This menu displays all active pages in your web application. You can create, edit, or delete existing pages, as well as re-order the pages for display within the finalized navigation bar (provided that you have one enabled). The order of pages here is important for navigation purposes. You can drag-and-drop pages to change their order. You can use a Navigation Bar, any number of Action Buttons, or any combination of both methods to allow your users to transition between pages in your Designer application.
Navigation Bar
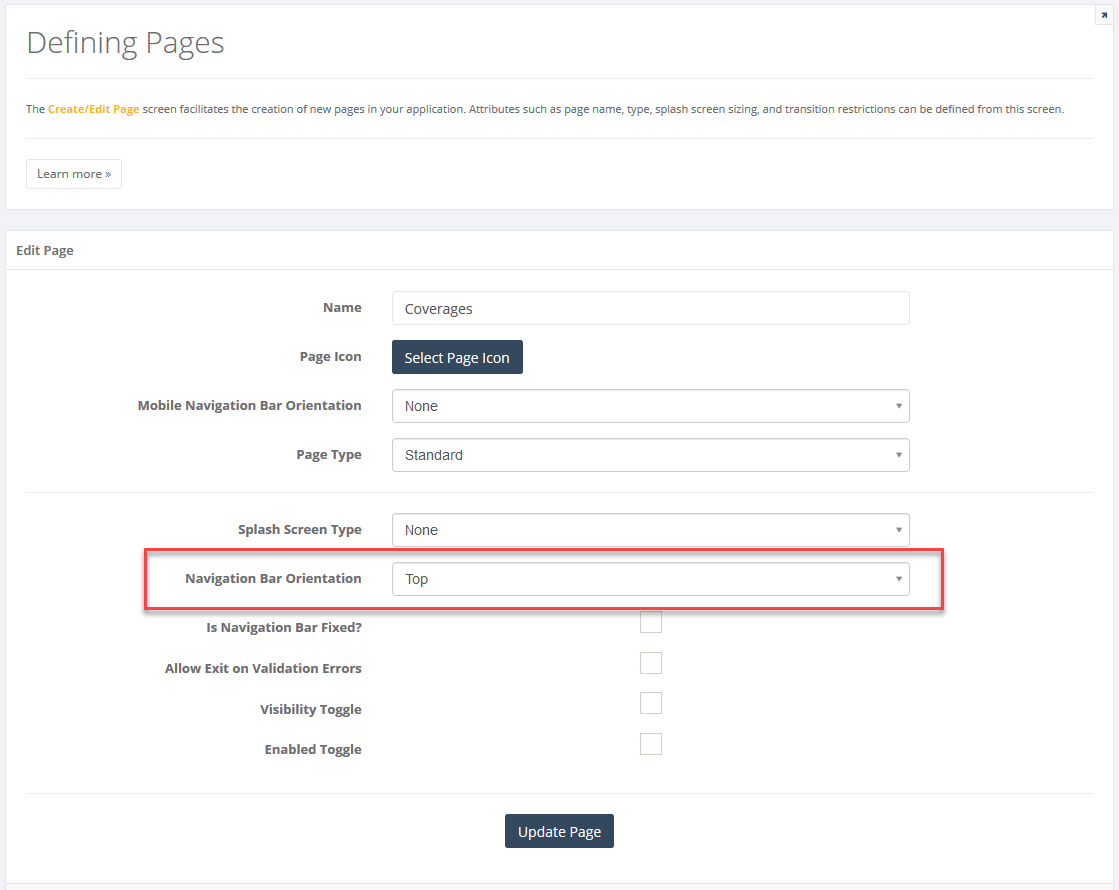
A navigation menu will automatically list all pages that are visible to the end user. You can add a Navigation Bar to any number of pages from Edit Page menu. You can enable Navigation Bar for this page by changing the Navigation Bar Orientation to Top or Left. Selecting None will hide the Navigation Bar. Note that you need to apply this property to each page in your web application individually. Selecting the Left option will also allow setting the Enable Navigation Bar Collapse property. When Enable Navigation Bar Collapse is selected, the navigation bar will have a small icon which can be used to collapse the navigation menu to the left, and only display the Page icons.
Enabling the Is Navigation Bar Fixed? option will fix the Navigation Bar so that it will remain on the top or the left side of the page when users scroll through the page.
Mobile Navigation Bar
You can select a different type of navigation menu for your application to be used when it is accessed by a mobile device, or a device with a smaller screen.
- None: The navigation bar will be hidden.
- Top: The navigation bar will be shown on the top of the mobile page.
- Bottom: The navigation bar will be shown on the bottom of the mobile page in the form of a small icon that expands when you click it and shows the pages. This option will also allow you to enable or disable the Bottom Bar Show Only Icons property. When Bottom Bar Show Only Icon is enabled, the navigation menu will only display the page icons, and omit the page names.
Action Buttons
You can add any number of Action Buttons in the User Interface Designer. Action buttons can be assigned a Navigation event, which can be configured by clicking the event name after it’s added into a button.
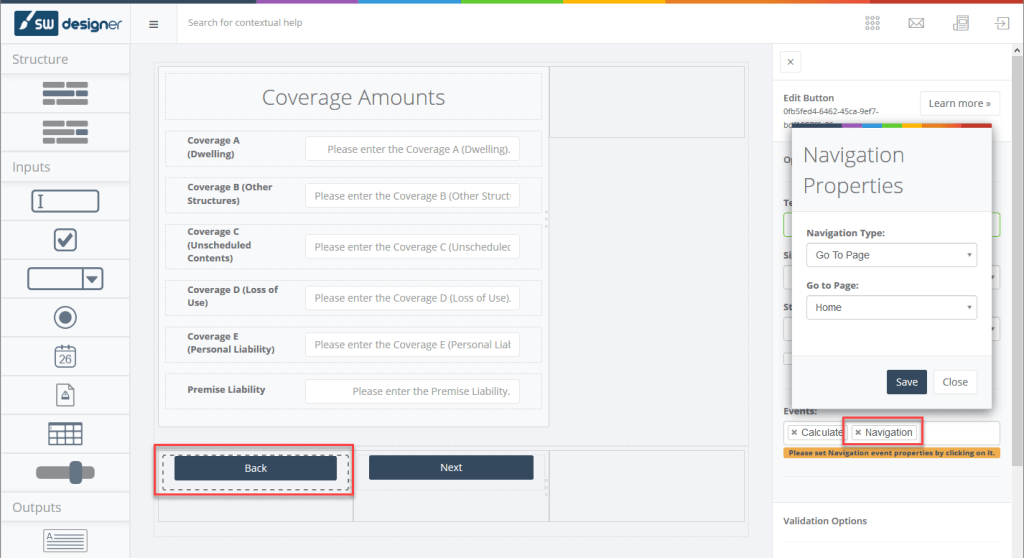
Here, you can select a Navigation Type property to redirect users to other pages. Options are,
- Back – Takes the user to the previous page in the page order defined in the Pages module. If there are no available pages to the end user, the button will not do anything other than calculate.
- Next – Takes the user to the next page in the page order defined in the Pages module. If there are no available pages to the end user, the button will not do anything other than calculate.
- Go To Page – This option creates a second property, Go To Page. You can select the specific page name from this input to direct the user to that page. If there are no available pages to the end user, the button will not do anything other than calculate.
- External – This option can be used to redirect the user to another website. Enabling Open in New Tab will open the external link on a new browser tab.
- External Link Type – Determines whether the user will be redirected to a static URL or one generated dynamically by a workbook named range.
- Static – You can manually enter the URL for redirect.
- By Value Of – Allows selecting the URL target from a workbook Named Range.
- External Link Type – Determines whether the user will be redirected to a static URL or one generated dynamically by a workbook named range.
Page Icons
Page icons are small images that are placed to the left of the page name on the Navigation Bar. The selected icon is also displayed on the Pages menu in the Designer interface.
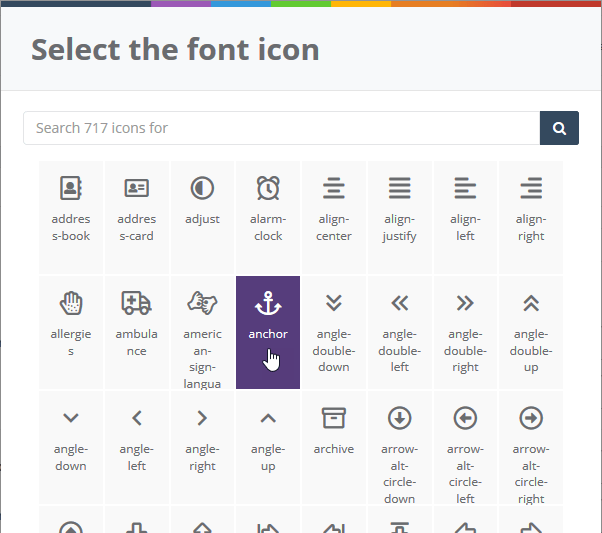
You can add icons to pages from the Select Page Icon button. Simply select the icon you want to use, and press the OK button on the bottom of this menu.
The selected icon will be displayed to the left of the page name when you review or publish your application.
You can see the selected icon on the Select Page Icon area. To remove an icon, press Remove Page Icon.
