Search Knowledge Base by Keyword
monday SpreadsheetWeb Apps
For using the web application with a user interface on monday.com
You can use this method if you want to display the user interface of your SpreadsheetWeb application on your monday.com board. You can select from item view or full-screen view.
Please note that you need to add a Push Data from Frame event into the Action Button for SpreadsheetWeb to save data into monday.com properties.
1. Install SpreadsheetWeb Apps from monday.com App Marketplace
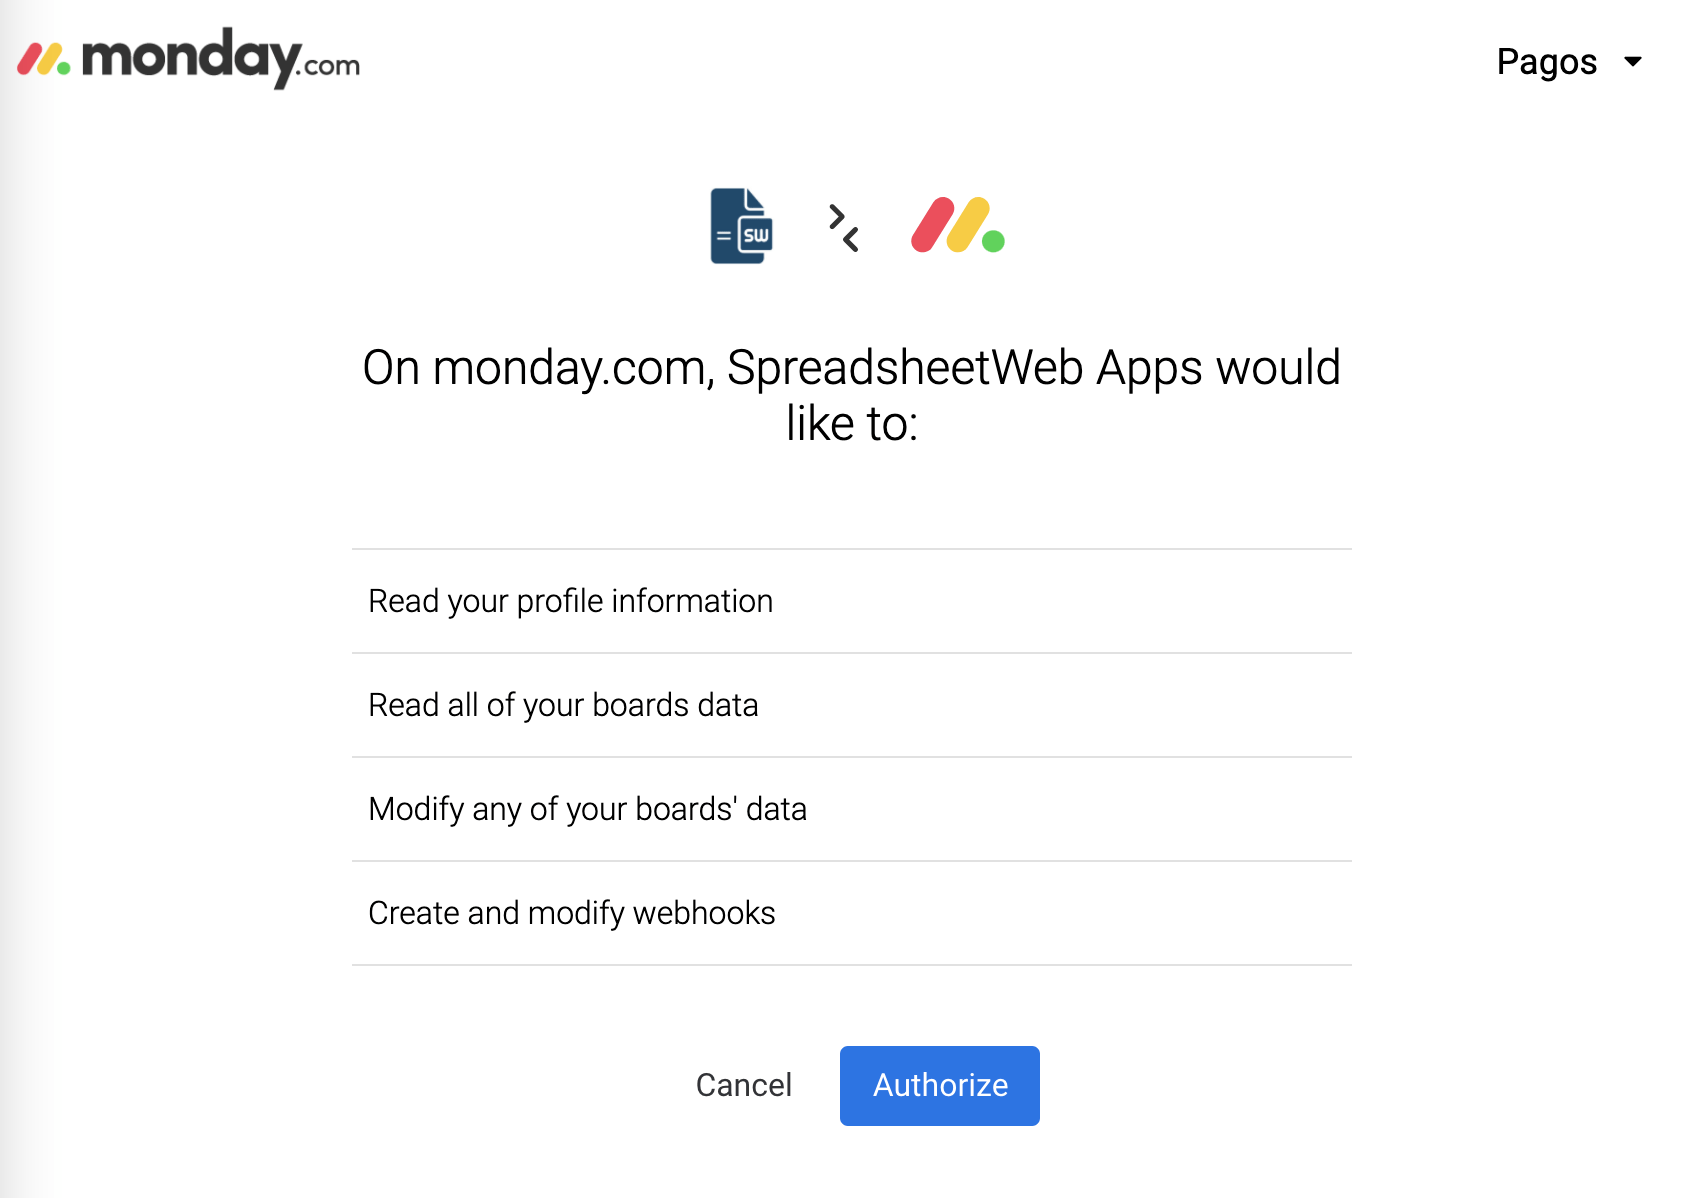
Login to your monday.com account. Select a contact and press Add View. Then search and install “SpreadsheetWeb Apps”. Click Authorize when prompted. SpreadsheetWeb Apps view will be added to the active board.
2. Embed your SpreadsheetWeb application into your monday.com board
Click the name of a contact and select the SpreadsheetWeb Apps view. This will load the applications list.
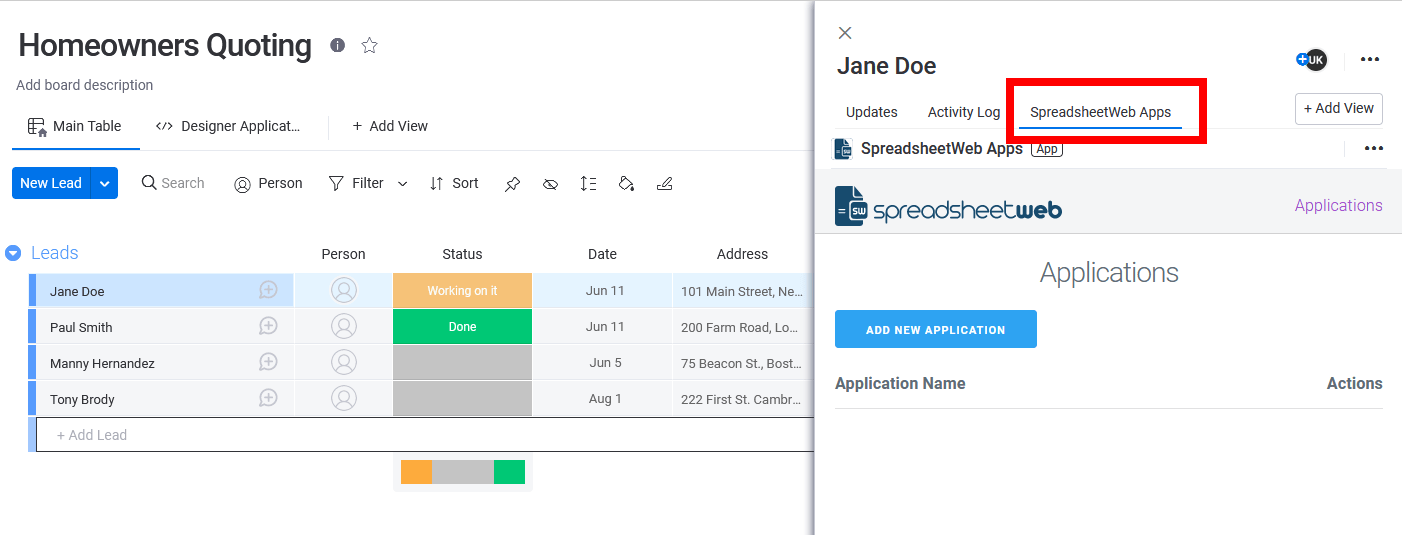
Press Add New Application button to create your first application. Enter the name for your application. Then, copy and paste the Application Link and Application Identifier fields from the SpreadsheetWeb Control Panel. This is how the application will match your monday.com application to the Excel file running on SpreadsheetWeb.
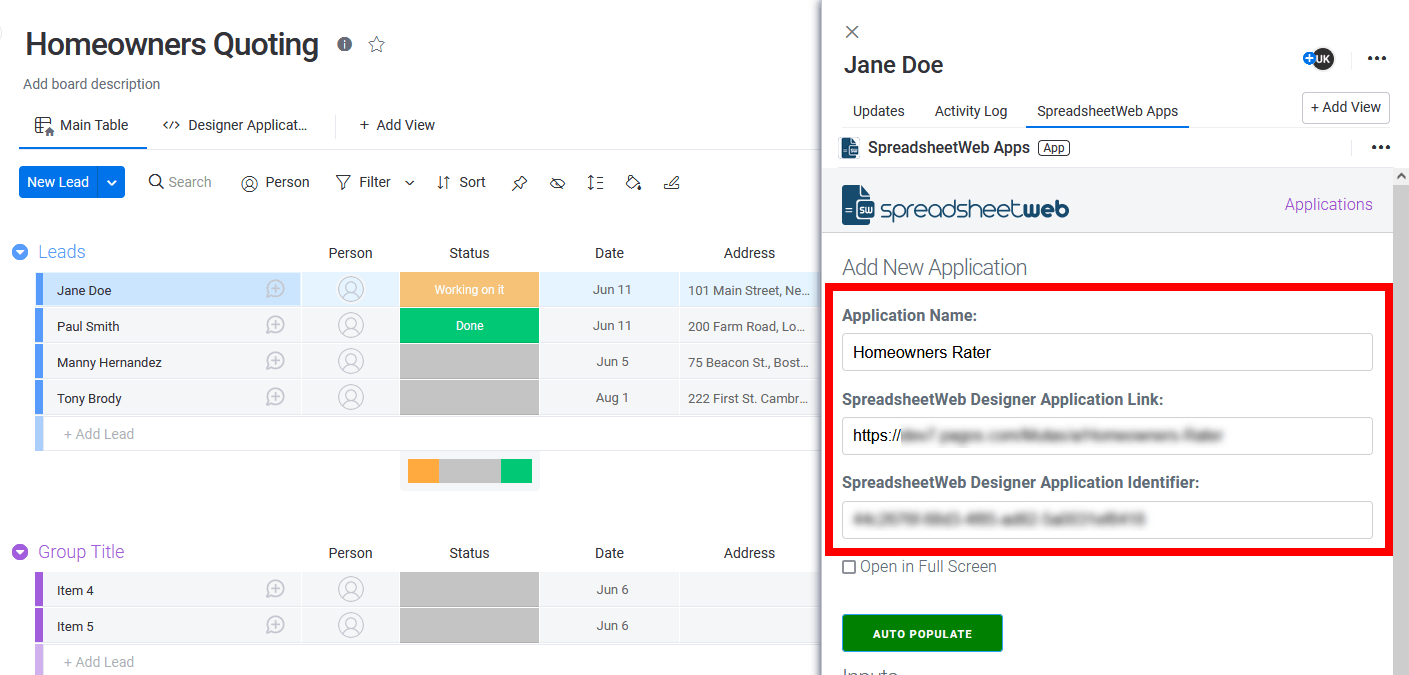
You can find the Application Link and Application Identifier by pressing the blue Edit Application button on the Control Panel if you have a paid SpreadsheetWeb account.

If you have a trial account, you can select the API application option when first creating your application and retrieve this information.
The next step is to add inputs and outputs and map them to the web application. Press Add New Input and enter a name as monday.com Name. This is the name that will appear in your application. Enter the input name from your SpreadsheetWeb application as SpreadsheetWeb Name. Note that the Inputs section will only list the fields defined as inputs in the SpreadsheetWeb application, and the Outputs section will only list the outputs.
The monday.com Name dropdown will only list relevant and supported column types. The following types are supported:
- Status – You need to add this property first on monday.com to be able to select it.
- Numbers
- Date
- Text
- Long Text
- Checkbox
- Link
- Phone number
- Dropdown
If you want to store any input or output data in monday.com or want to pull any input data directly from the contact details, add a new column into your monday.com board. The system will automatically load any existing data under matching columns in the application.

Once you are done entering inputs, press the Add New Output button and enter a monday.com Name. For the SpreadsheetWeb name, make sure to enter that formula cell’s name i.e. cost, or its cell reference Input!B7. Finally, press Save to finish the application configuration.
Note that, if you like your changes in the SpreadsheetWeb application reflected on monday.com board, you need to add all inputs as outputs as well. This will ensure that any input change in SpreadsheetWeb application will be saved back to corresponding column on monday.com
If your monday.com board and SpreadsheetWeb application have the same field labels, you can use the Auto-Populate button to automatically map all matching inputs and outputs.

Congratulations! You have just created your first application. Now, all you need to do is to select a contact, open the SpreadsheetWeb view, and press the Run button next to the application name. The system will load the application interface with any preset data. You can change the values, trigger the calculations to get results and use any other feature within the application, such as export to PDF or email notifications.