Connecting an Online Calculator to Salesforce
The first use case is to connect a SpreadsheetWeb application to another system via Zapier. A common use case is to create an online calculator on SpreadsheetWeb and send user submitted data along with calculations to a CRM system as a new lead.
Below is an online calculator build on SpreadsheetWeb to calculate cost savings for replacing traditional light fixtures with LED.
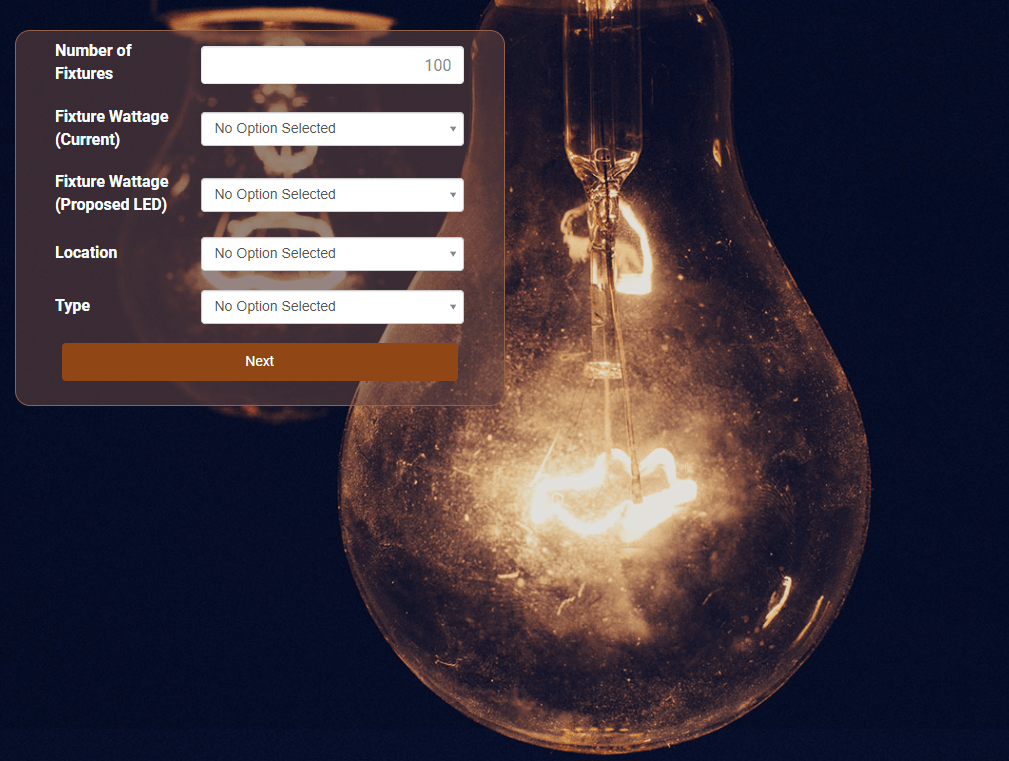
Many businesses build similar interactive calculators and use them as lead generation tools on their web sites. Converting the user submitted data into a lead in a CRM system is extremely valuable for automating the entire process.
In this example, we will create a Zap to connect this SpreadsheetWeb application to Salesforce. Each time a web visitor runs the calculator, a new lead will be created in Sales Force.
The first step is to create a new Zap. Add a trigger. Choose the application as SpreadsheetWeb Hub and the event as New Data Record.

Then, connect with your SpreadsheetWeb Hub account.

Select your workspace and application’s name with the fields you want save in a Salesforce lead.

Now, you can start to test the trigger event to make sure the connection is valid. You will see the values of a saved record under your SpreadsheetWeb Hub application.
Tip: Save at least a record before testing. Zapier seeks an existing record to validate its connection test.

After testing the trigger event, add an action. Choose the application as Salesforce and event as Create a New Lead.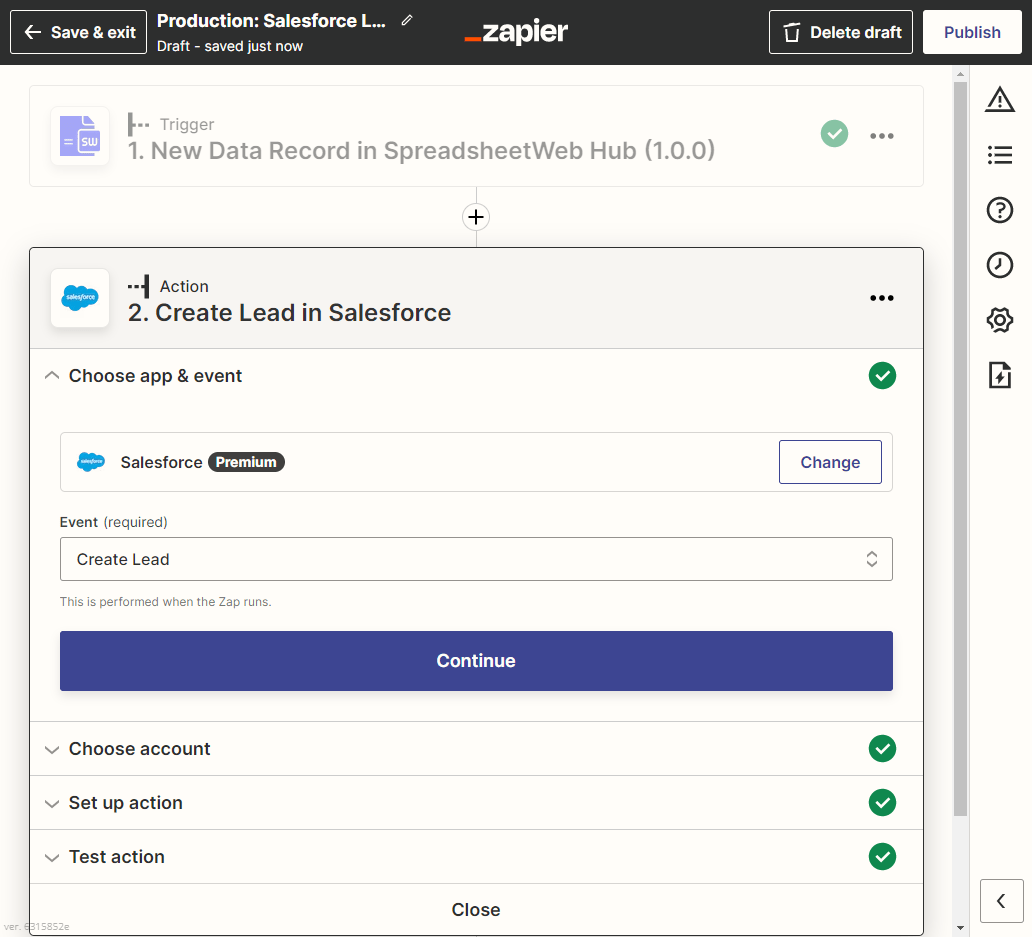
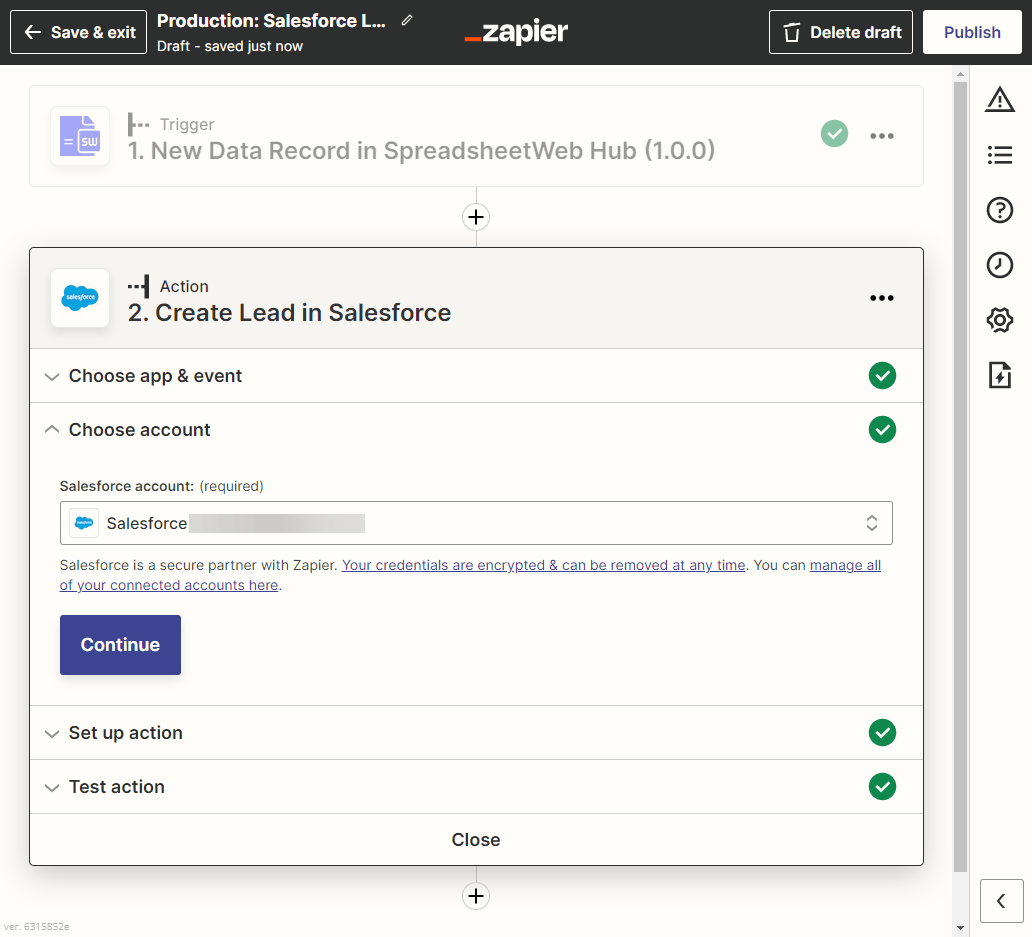
Then, connect with your Salesforce account.
The next step is to match Salesforce fields with your SpreadsheetWeb Hub application’s fields.
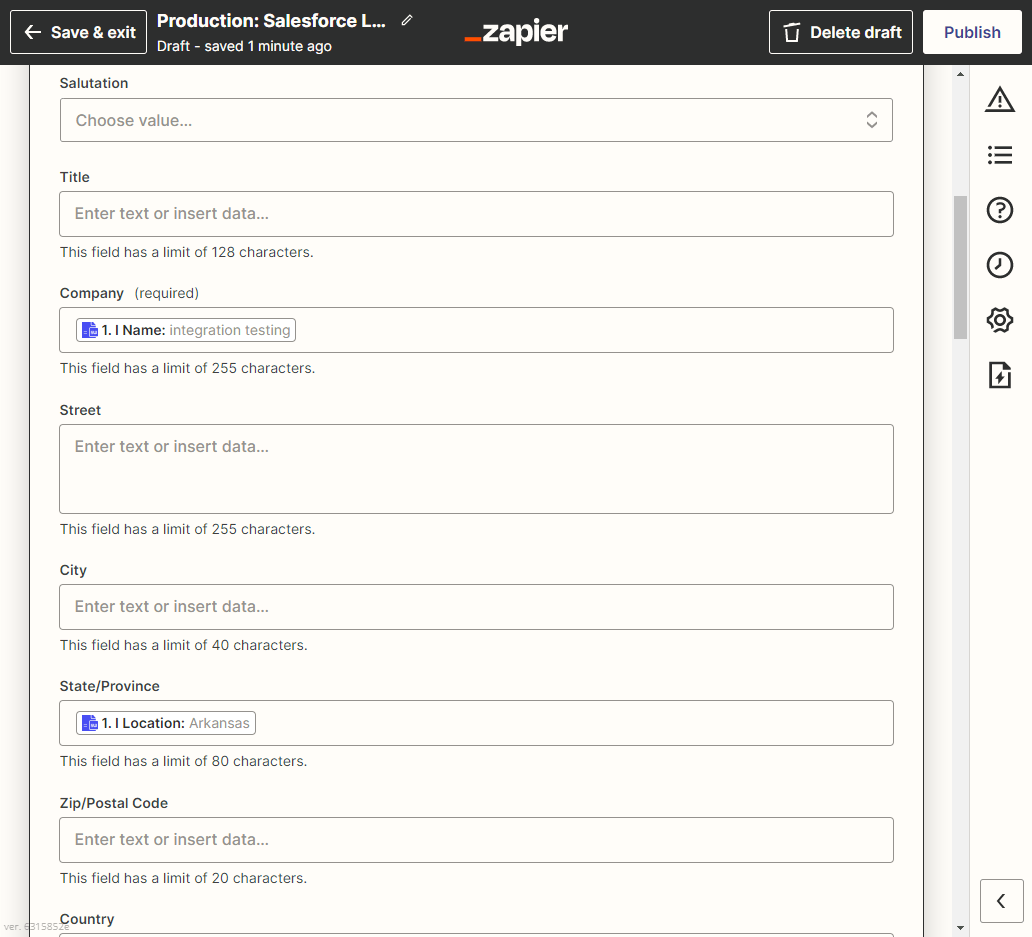
Note that, most online calculators are business and industry specific. Make sure to create custom fields in your Salesforce account matching those in your calculator ahead of time.
Now, test the action event to make sure the connection is valid. You will see the which fields in the Salesforce Lead are populated with values of your SpreadsheetWeb Hub app.

After testing the action, it is time to publish the zap and start using it.
Load the SpreadsheetWeb Hub application, enter inputs and hit Save. When you go to your Salesforce account, you will see the new Lead with this data is created. Note that, this might take a few minutes depending on your Zapier account type
And this is how to utilize Zapier to automate the process of pushing the result to the same lead on Salesforce after saving a record in SpreadsheetWeb Hub application in Zapier.