Connecting Quoting Applications to HubSpot
In this article, we will show you how to connect a SpreadsheetWeb quoting application with the HubSpot CRM via Make.com.
This is a two-step example, with the Make.com scenario including 2 triggers. The objective is to have the quote data added as a lead in HubSpot, triggering a calculation against the SpreadsheetWeb application, which returns a set of calculated output back to the same lead in HubSpot. In this scenario, the end user will not need to leave HubSpot throughout the entire process.
Since most quoting applications have custom data fields, adding custom properties to your Deals in HubSpot will be your likely first step.
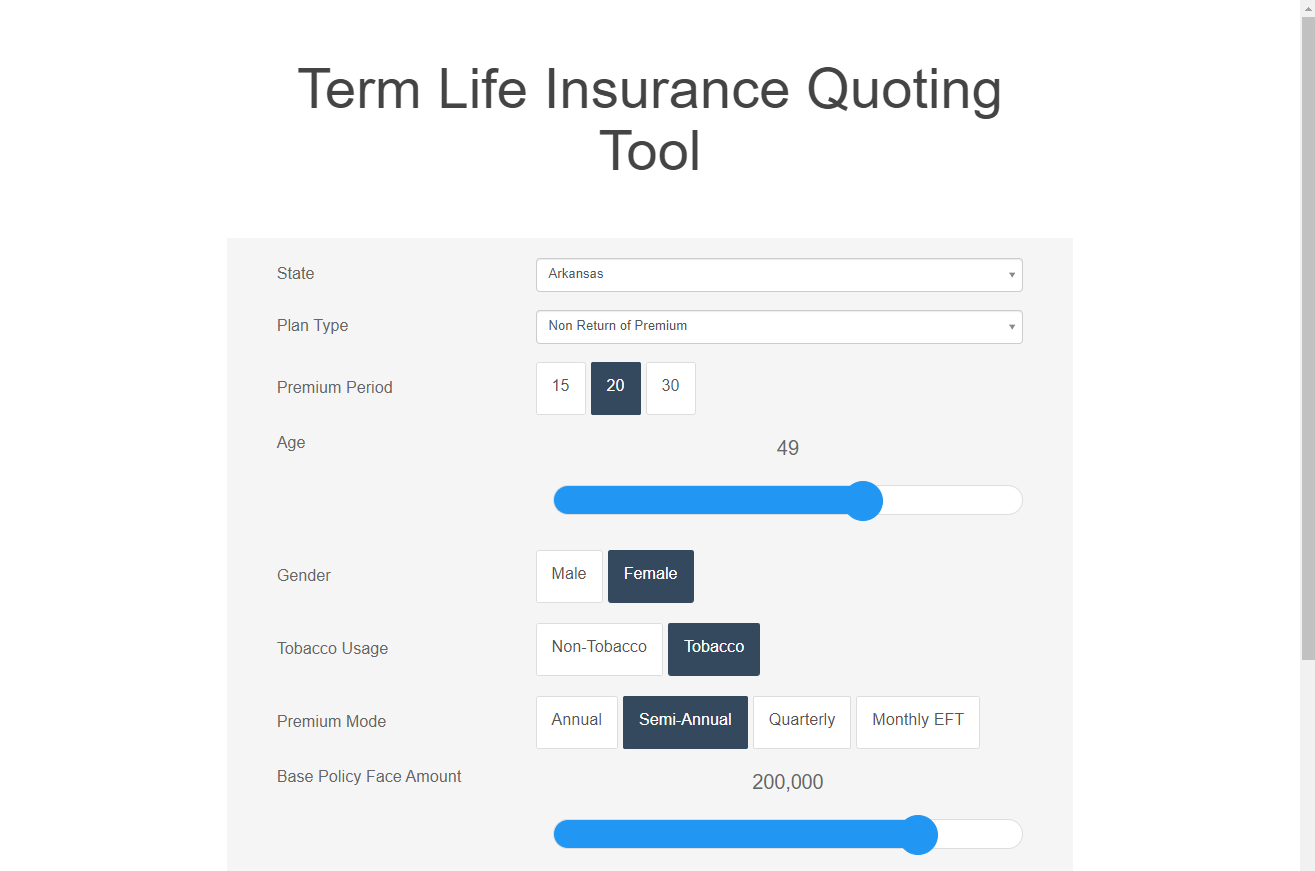
The next step is to create a quoting application in SpreadsheetWeb Hub using your Excel workbook. The workbook should contain the necessary calculations for the deal. Here is a screenshot from an insurance quoting application for a life insurance company.
When your SpreadsheetWeb Hub application and custom fields on HubSpot are ready, go to your Make.com account and create a scenario.
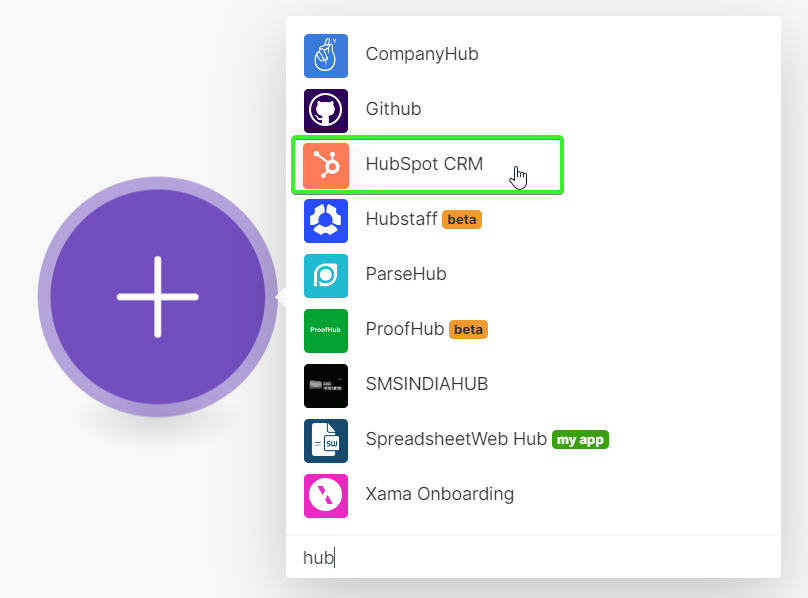
While adding a trigger, select HubSpot as the application.
Then, choose Watch New Records as the trigger.

Next, create a connection with your HubSpot account. Choose the Record Type and Category.

The next step is to set up the action, so click on Add another module.

Select SpreadsheetWeb Hub as the application.

And select Create or Update Data Record.

Next, create a connection with your SpreadsheetWeb Hub account. Choose your workspace and application.

Then, select the properties you want to send to the SpreadsheetWeb Hub application to be calculated.

Now, it is time to add the second trigger. Click on Add another module.

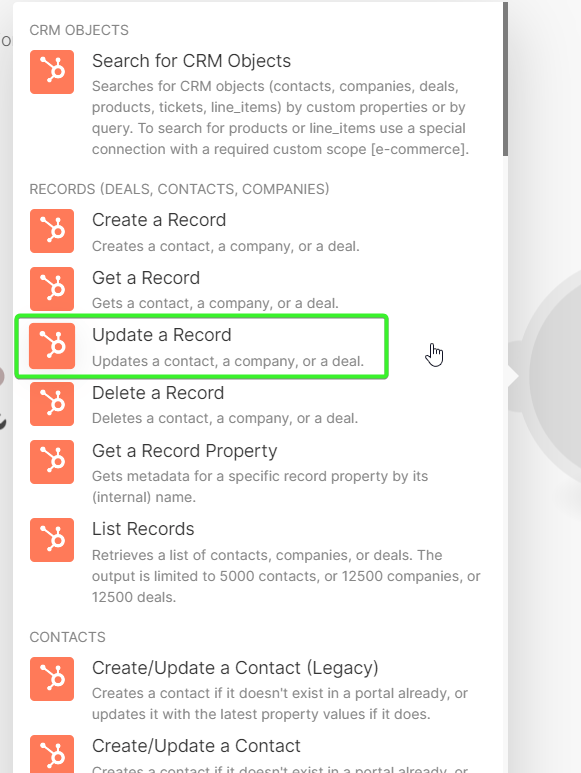
Select HubSpot as the application and Update a Record as the action.
Then, create a connection with your HubSpot account.

Choose the Record Type and ID.

Also, do not forget to assign the calculated values to the corresponding fields. In our example, Total Premium is the calculated value that we want to bring from the SpreadsheetWeb calculation and save into our lead in HubSpot.

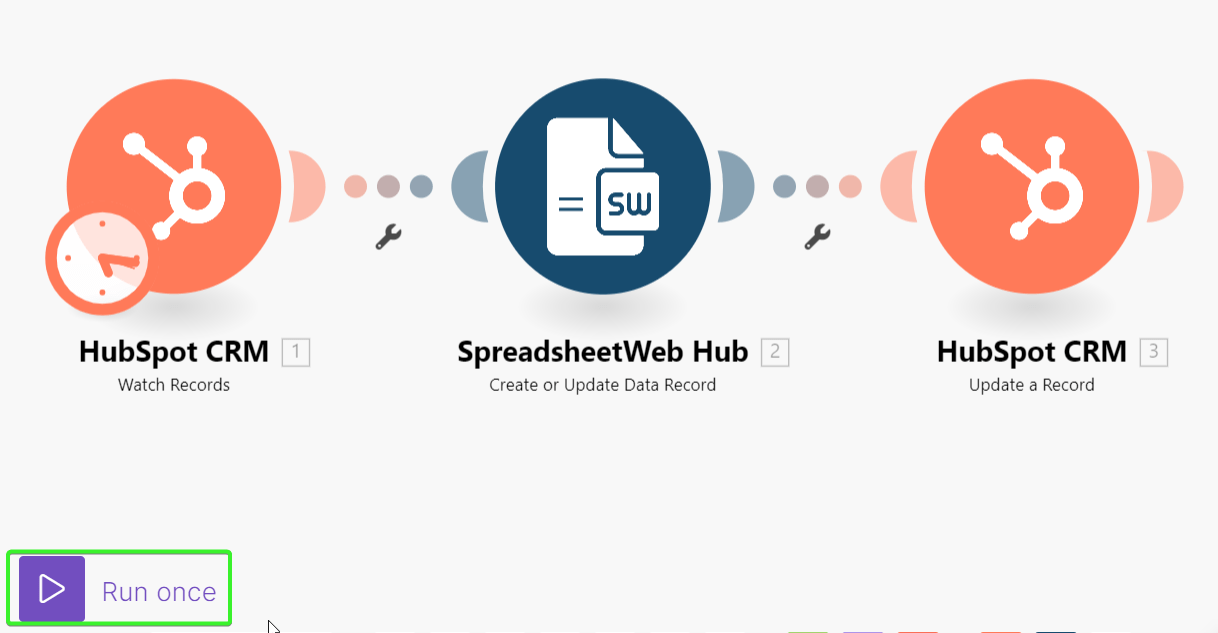
Once you have configured your scenario, you should test your example to ensure that everything is working properly. Click the Run once button to test your scenario.
After testing the scenario, if it is successful; you can activate your scenario using the ON/OFF button.

Make.com also allows you to define when and how often an activated scenario executes. By default, a scenario runs every 15 minutes, but you can customize this as needed from the panel located in the bottom-left of the screen.

After scheduling and activating your scenario, login to your HubSpot account, open the Sales > Deals page and click on the Create Deal button. Fill in the corresponding properties and save the record. This will trigger the process on Make.com, and upon refreshing the page you will see the Premium field is populated with the correct value.

And this is how you can utilize Make.com to automate the process of creating a deal on HubSpot, pushing deal information to SpreadsheetWeb for calculations and then updating HubSpot with the results.