Dashboard Permission
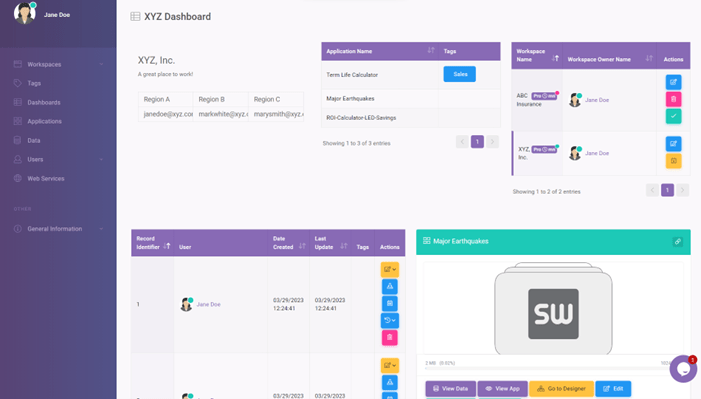
In SpreadsheetWeb Hub for dashboards to be viewed and used, users must have certain access permissions. To configure Dashboard permissions, there are two options.
Editing ‘User Rights’ user by user:
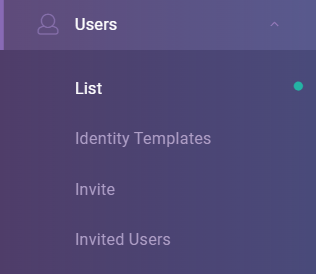
To configure users’ Dashboard permissions, you can go to Users Page and click ‘Edit’ on a user. In this article, we will only focus on giving Dashboard Rights to a user but for more information, you can visit our User Management help page.

You can add Dashboard rights by clicking on ‘Add’ button.
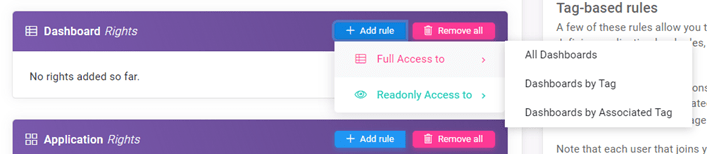
If you choose to give a user full Access to Dashboards, use the “Full Access to’ option. There will also be 3 options.
All Dashboards: Allows the selected user to view, create, modify, and delete all dashboards in the workspace.
Dashboards by Tag: Allows selected user to view, create, modify, and delete all dashboards with the assigned tags under the workspace.
Dashboards by Associated Tag: Allows selected user to view, create, modify and delete all dashboards that belong to tags that the user is associated with.
Instead of giving full access you can also give users ‘Read-only Access to Dashboards by using the “Read-only Access to’ option. There will also be 3 options.
All Dashboards: Allows the selected user to view dashboards in the workspace. Users will not be able to create, modify and delete dashboards.
Dashboards by Tag: Allows selected user to view dashboards with the assigned tags under the workspace. Users will not be able to create, modify and delete dashboards.
Dashboards by Associated Tag: Allows selected user to view dashboards that belong to tags that the user is associated with. Users will not be able to create, modify and delete dashboards.
When you’re done, click on ‘Update User’. User’s rights will be updated immediately.
Create Identity Templates and Apply it to Users
If there are too many user in the workspace whose permissions need to be configured, editing users one by one can take a lot of time.
In such a case, by creating an ‘Identity Template’, you can easily apply certain rules to all selected users. To create an Identity Template go to Identity Templates page.

And click on ‘Create a New Template’.

In this article, we will only focus on adding Dashboard Rights to an Identity Template but for more information, you can visit our Identity Template help page.
You can add Dashboard rights by clicking on ‘Add’ button.

If you choose to add full Access to Dashboards, use the “Full Access to’ option. There will also be 3 options.
All Dashboards: Allows users with this specific identity template to view, create, modify, and delete all dashboards in the workspace.
Dashboards by Tag: Allows users with this specific identity template to view, create, modify, and delete all dashboards with the assigned tags under the workspace.
Dashboards by Associated Tag: Allows users with this specific identity template to view, create, modify, and delete all dashboards that belong to tags that the user is associated with.
Instead of giving full access you can also give users ‘Read-only Access to Dashboards by using the “Read-only Access to’ option. There will also be 3 options.
All Dashboards: Allows users with this specific identity template to view dashboards in the workspace. Users will not be able to create, modify and delete dashboards.
Dashboards by Tag: Allows users with this specific identity template to view dashboards with the assigned tags under the workspace. Users will not be able to create, modify and delete dashboards.
Dashboards by Associated Tag: Allows users with this specific identity template to view dashboards that belong to tags that the user is associated with. Users will not be able to create, modify and delete dashboards.
When you are done click on ‘Create Template’. To apply created Identity Template to users. Go to ‘User Page’.
Click on ‘Edit’ for a user.

Choose the template you want to apply from ‘Select a User Template’ dropdown. When you’re done, click on ‘Update User’. User’s rights will be updated immediately.
