Automating E-Signature Collection with Zapier
This article will show you how to automate the process of collecting e-signatures via Zapier by connecting the SpreadsheetWeb Hub application with SignNow.
Many businesses use different types of documents for different purposes. Non-disclosure Agreements (NDAs) are one of the most used documents types. NDAs protect confidential information. They are legal contracts between two or more parties in which one party (the disclosing party) agrees to share confidential information with another party (the recipient), and the recipient agrees to keep the information confidential. Therefore, automating sending NDAs and collecting e-signatures can be extremely time-saving for many businesses.
In this example, we will create a Zap on Zapier to connect the SpreadsheetWeb Hub application to DocuSign. Each time a new NDA document is created and saved on SpreadsheetWeb Hub, this Zap will send an invite with the document to sign. Below is a screenshot from the Non-Disclosure Agreement application created on SpreadsheetWeb Hub.

The first step is to create a new Zap. Add a trigger. Choose the application as SpreadsheetWeb Hub and the event as New Data Record.

Then, connect with your SpreadsheetWeb Hub account.

Select your workspace and application’s name. Choose PrintPDF and Email for the database columns. NDA document is saved in the PrintPDF database column in this demo application. It can be a different column name in your application.

Now, you can start to test the trigger event to make sure the connection is valid. You will see the values of a saved record under your SpreadsheetWeb Hub application.
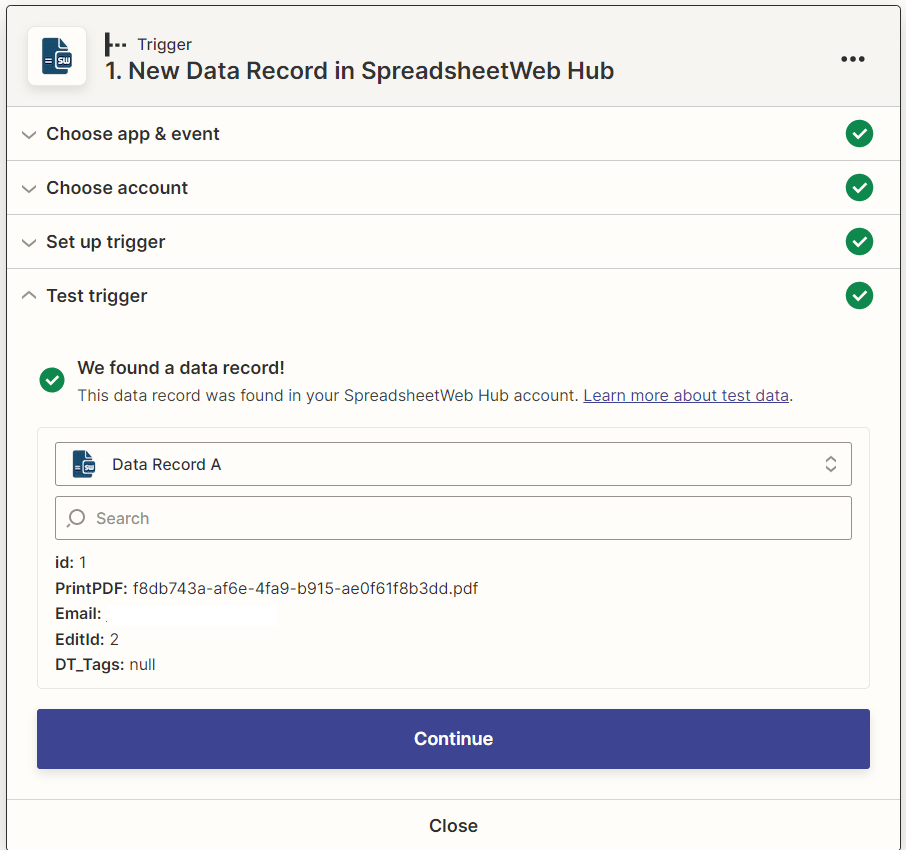
Tip: Save at least a record before testing. Zapier seeks an existing record to validate its connection test
After testing the trigger event, add an action. Choose the application as SpreadsheetWeb Hub and event as Get File.

Then, connect with your SpreadsheetWeb Hub account.

Choose the Attachment Data Column as PrintPDF and Data record as the ID from a previous trigger or action.

Test the action.

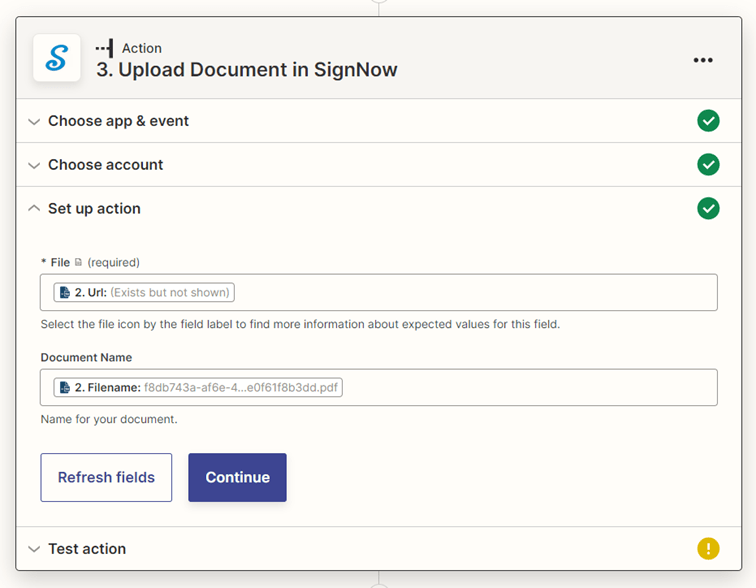
After, add another action and choose SignNow as the application and event as Upload a File.

Connect your SignNow account. Choose the file URL and document name.
Now, test the action event to make sure the connection is valid.
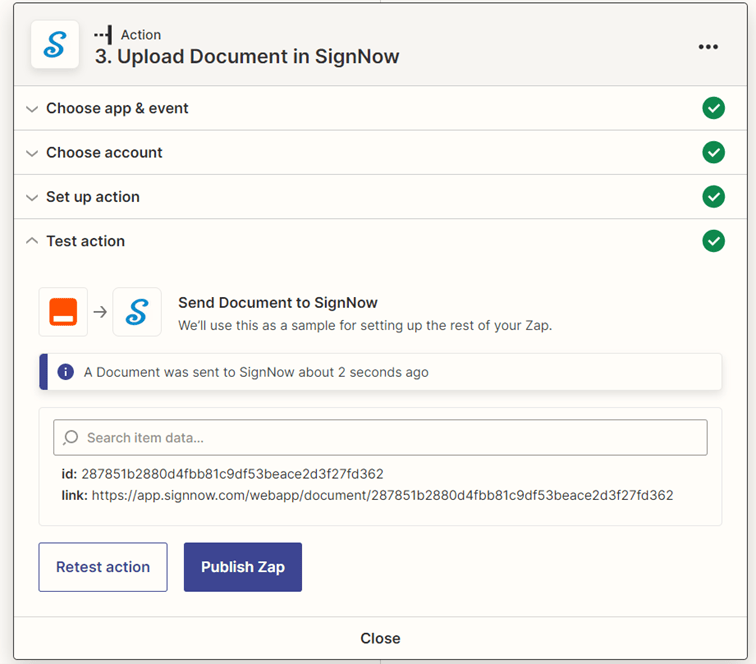
This will upload file to the SignNow account.
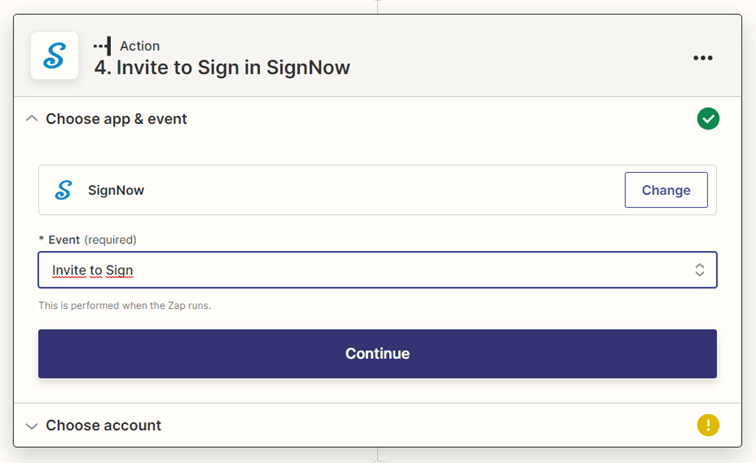
To send an invite to sign, add another action. Choose the application as SignNow and the event as Invite to Sign.
Connect with your SignNow account and fill the Document, Email address fields should be selected from the data entered to the SpreadsheetWeb Hub application. If there is only one email field, you can bind the ‘From’ email field to the SignNow account email.

Optionally, you can add Subject and a message too. You can manually enter a text for those fields or choose to populate them from your SpreadsheetWeb Hub application.
When you are done, test the action.
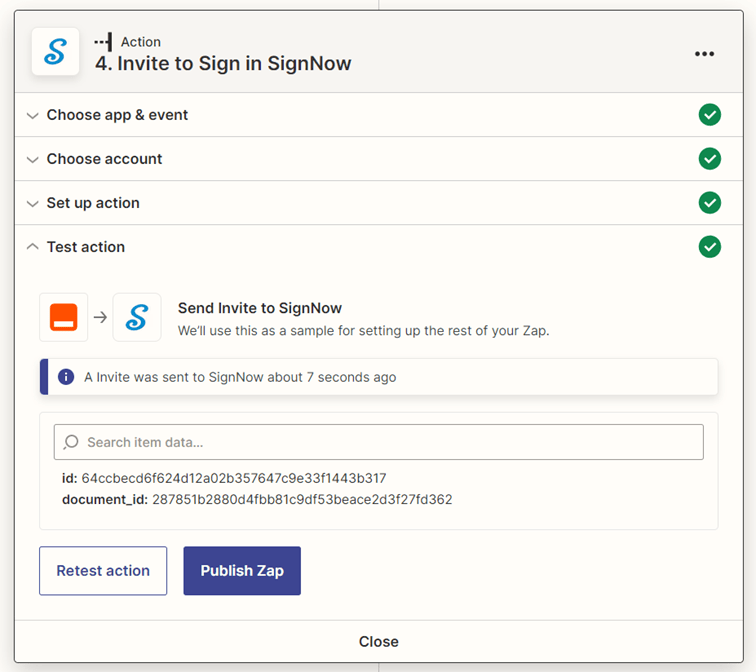
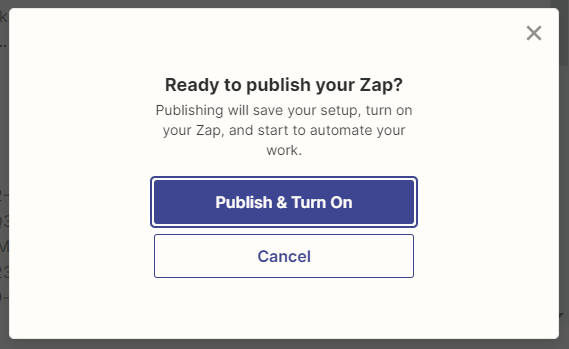
If it is successful, you can publish the Zap.
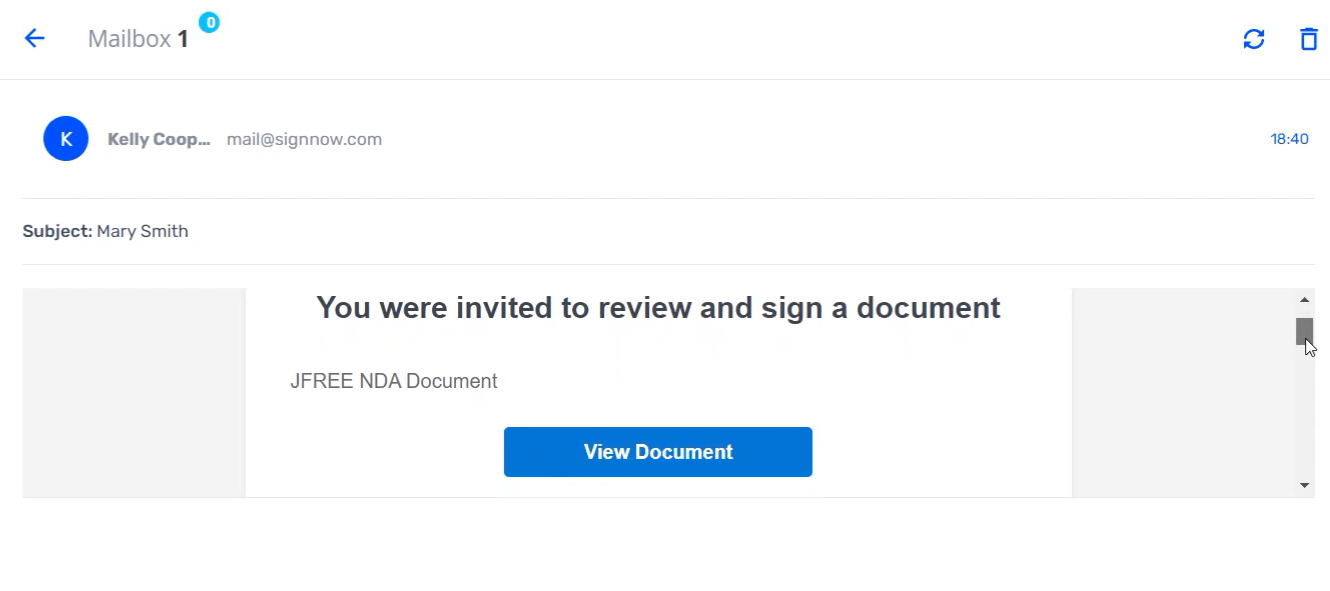
The recipient will receive an email with an invitation to sign. They will be led to SignNow to view the NDA file and add their e-signature. (Note: The process is asynchronous, so it may take a few minutes to appear.)