Gauges
Gauges are output controls that display a visual representation of a cell value in the user interface. Widely used in data analysis and presenting key metrics, gauges are a vital component of dashboard reports. Each gauge must be associated with a Single Named Range (SNR) from the workbook.
Inserting a Gauge
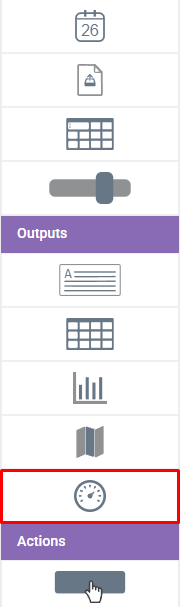
Inserting a gauge into the web interface can be done by dragging and dropping a Gauge module from the context menu into the staging area of the User Interface Designer.
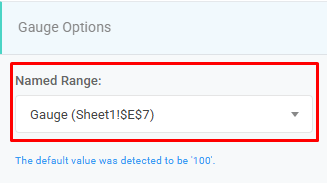
Once placed, click on the gauge to define its properties from the right-hand menu. Begin by selecting the Single Named Range (SNR) that contains the target data for the gauge from the Single Named Range selection. This value should include the data to be displayed on the gauge.
Gauge Data Structures
Select from available styles from the Type menu. Other configuration options will populate based on your style selection.
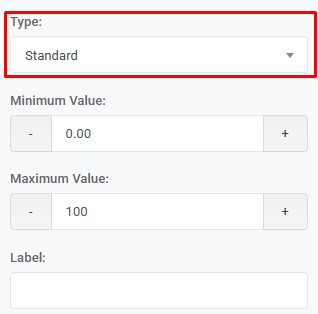
There are five types of gauges available:
- Standard
- Dial
- Digital
- Circular
- Three Quarter Circular
Standard Gauges
Standard gauges are excellent for tracking progress or completion rates. Critical success factor, GPA, or performance score analyses are common examples.
Min Value and Max Value determine the start and end points drawn on the gauge. You can enter a string into the Label field to add a header. Number Format allows customizing the numerical formatting of the values.

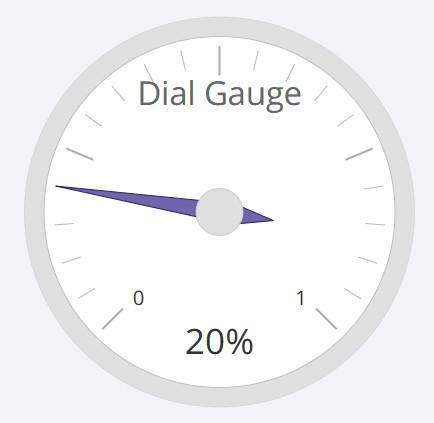
Dial Gauges
Dial gauges are excellent for tracking progress or completion rates. Critical success factor, GPA or performance score analyses are common examples.
Min Value and Max Value determine the start and end points drawn on the gauge. You can enter a string into the Label field to add a header. Number Format allows customizing the numerical formatting of the values.
Digital Gauges
Digital gauges act like an interactive display card; they show a quantity in a fancy way. This gauge type can be used to report inventories, or “X Interval to Date” totals.
You can enter a string into the Label field to add a header. Number Format allows customizing the numerical formatting of the values.

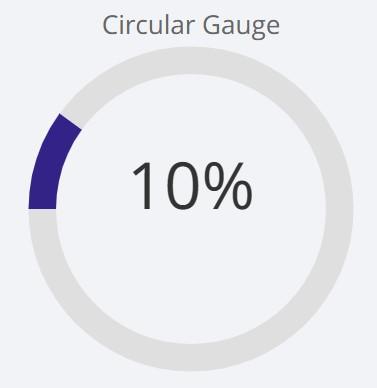
Circular Gauges
Circular gauges are similar to Standard gauges, but are designed in the shape of a complete circle.
Min Value and Max Value determine the start and end points drawn on the gauge. You can enter a string into the Label field to add a header. Number Format allows customizing the numerical formatting of the values.
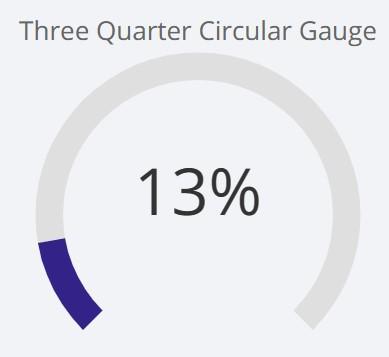
Three Quarter Circular Gauges
Three Quarter Circular gauges represent a modified version of circular gauges, covering three-quarters of a full circular area
Min Value and Max Value determine the start and end points drawn on the gauge. You can enter a string into the Label field to add a header. Number Format allows customizing the numerical formatting of the values.
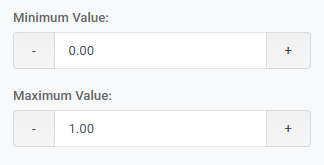
Minimum- Maximum Value
This control is designed to enable customization of the gauge’s range. Users can define the scope of the gauge by inputting minimum and maximum values. By setting a minimum value, the user establishes the starting point or the lowest limit of the range that the gauge will represent. Conversely, the maximum value sets the upper limit of the range. This functionality is particularly vital in scenarios where the gauge needs to reflect specific thresholds or limits, such as in temperature gauges, speedometers, or pressure indicators.
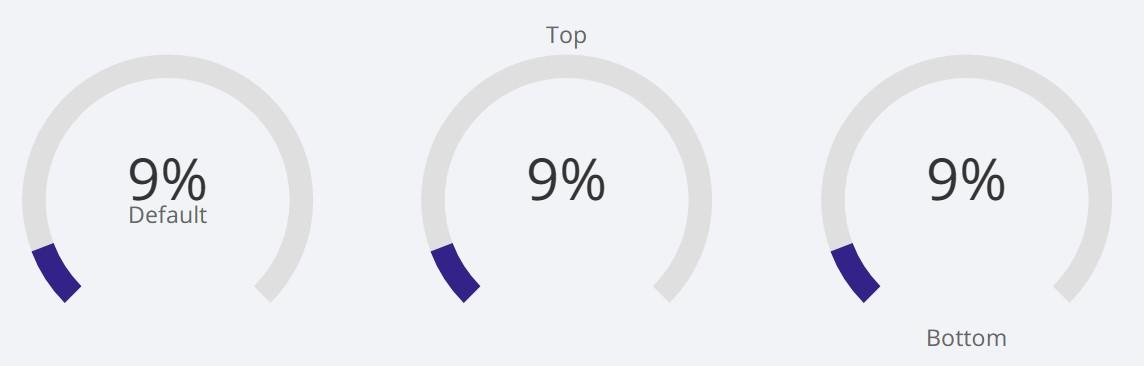
Label Position
This control feature is specifically designed to manage the positioning of the Label within a gauge, offering users the flexibility to choose its placement according to their requirements.
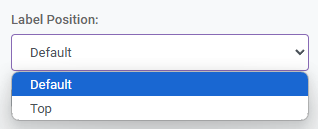
The available options include three distinct settings: Default, Top, and Bottom. The ‘Default’ option places the Label in a standard, pre-set position that is typically optimized for general use. The ‘Top’ option allows the Label to be positioned at the upper part of the gauge, making it more prominent and immediately visible to the viewer. Conversely, the ‘Bottom’ option places the Label at the lower part of the gauge, which can be useful for designs where top space is reserved for other elements or information.
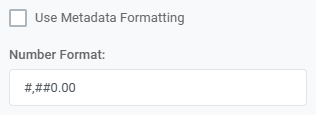
Number Format
This option is designed to format the numerical display in a manner that enhances readability and context relevance, with two options available for this purpose. When Use Metadata Formatting is enabled, the number displayed on the gauge automatically adopts the same formatting style as that of the corresponding cell in an Excel file.
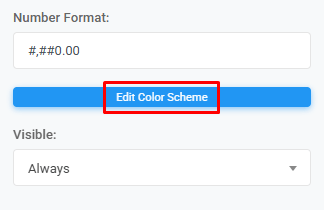
The second option Number Format provides a higher degree of customization, allowing users to manually specify the formatting. This is done using the same syntax rules as in Excel, giving users familiar with Excel an intuitive way to define their preferred format. For example, using the format specifier ‘#,##0.00’ will display the number in the gauge in a format like ‘1,234.00’, with commas separating thousands and two decimal places.
Color Scheme
The color set of the gauge. You can customize your gauges’ colors as you desired by clicking to Edit Color Scheme button. If a color set is not selected then it will use default color set from the Edit Application page.