Print Process
SpreadsheetWEB designer applications allow using a Microsoft Word (*.DOCX) document to create export documents in PDF or Word formats. This functionality can be tied to an Action button in the application, and the print process will be triggered every time the button is pressed. Any number of print processes and documents can be mapped to an Action button. Everyday use cases for this feature include generating quote documents, invoices, reports, or similar applications where you’d rather give your users an excellent printable document.
A Print Process consists of one or more print tasks that can produce any number of print outputs. The Print Process Designer allows for the design of template-based document generation, which can then be triggered through buttons in the user interface. The system allows for creating separate print processes for a given application, and you can assign any number of these print processes to a button.
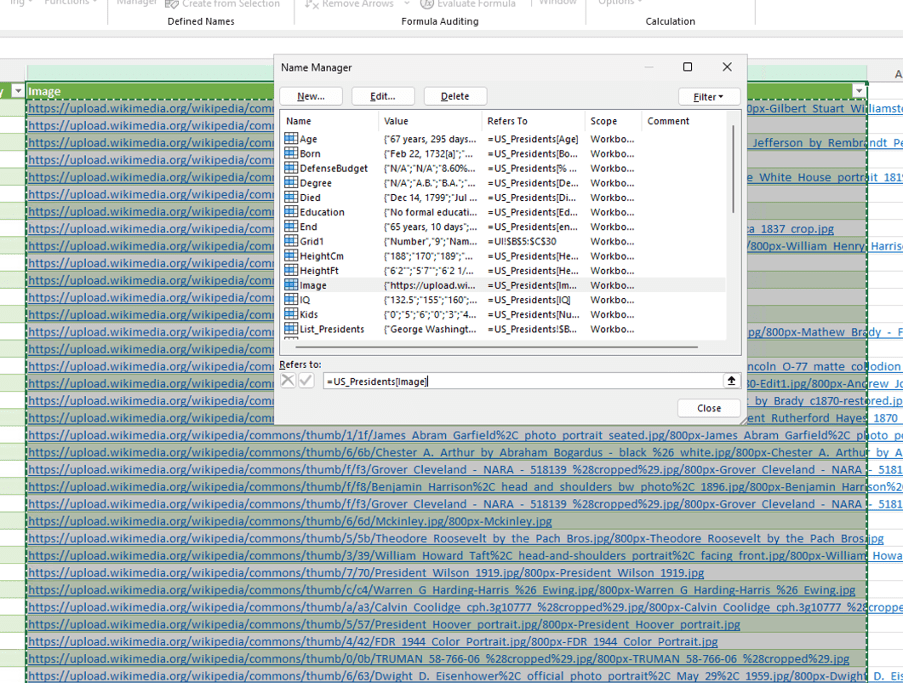
You can populate application data instead of static text in the templates. This requires you to use double curly braces and enter the range name in them (i.e. {{named range}} ). A Print Process can also be added to an email notification. Let’s see how this works in an example. Here, we have an insurance quoting tool from which a report is generated. Each named range from the Excel workbook can be mapped to a Word template section, as shown below. This gives you the flexibility of creating dynamic export documents that can be populated with the results of Excel calculations.

Once you have your document templates ready, you can create a print process and use it in your application interface. Go to the Events menu in the designer interface to create and manage print processes.
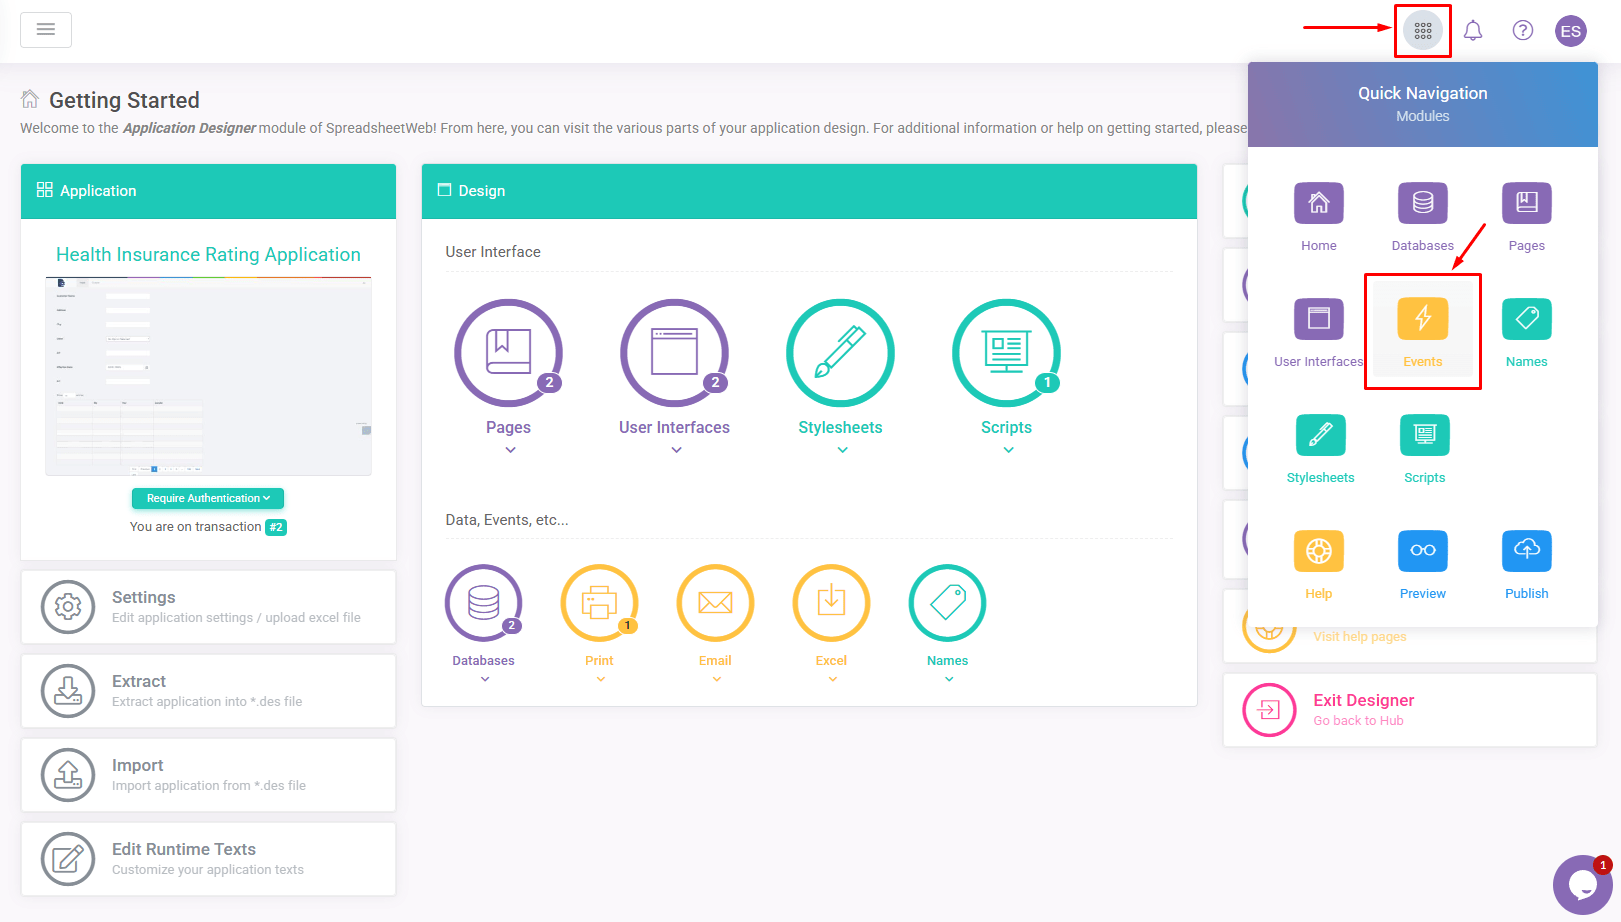
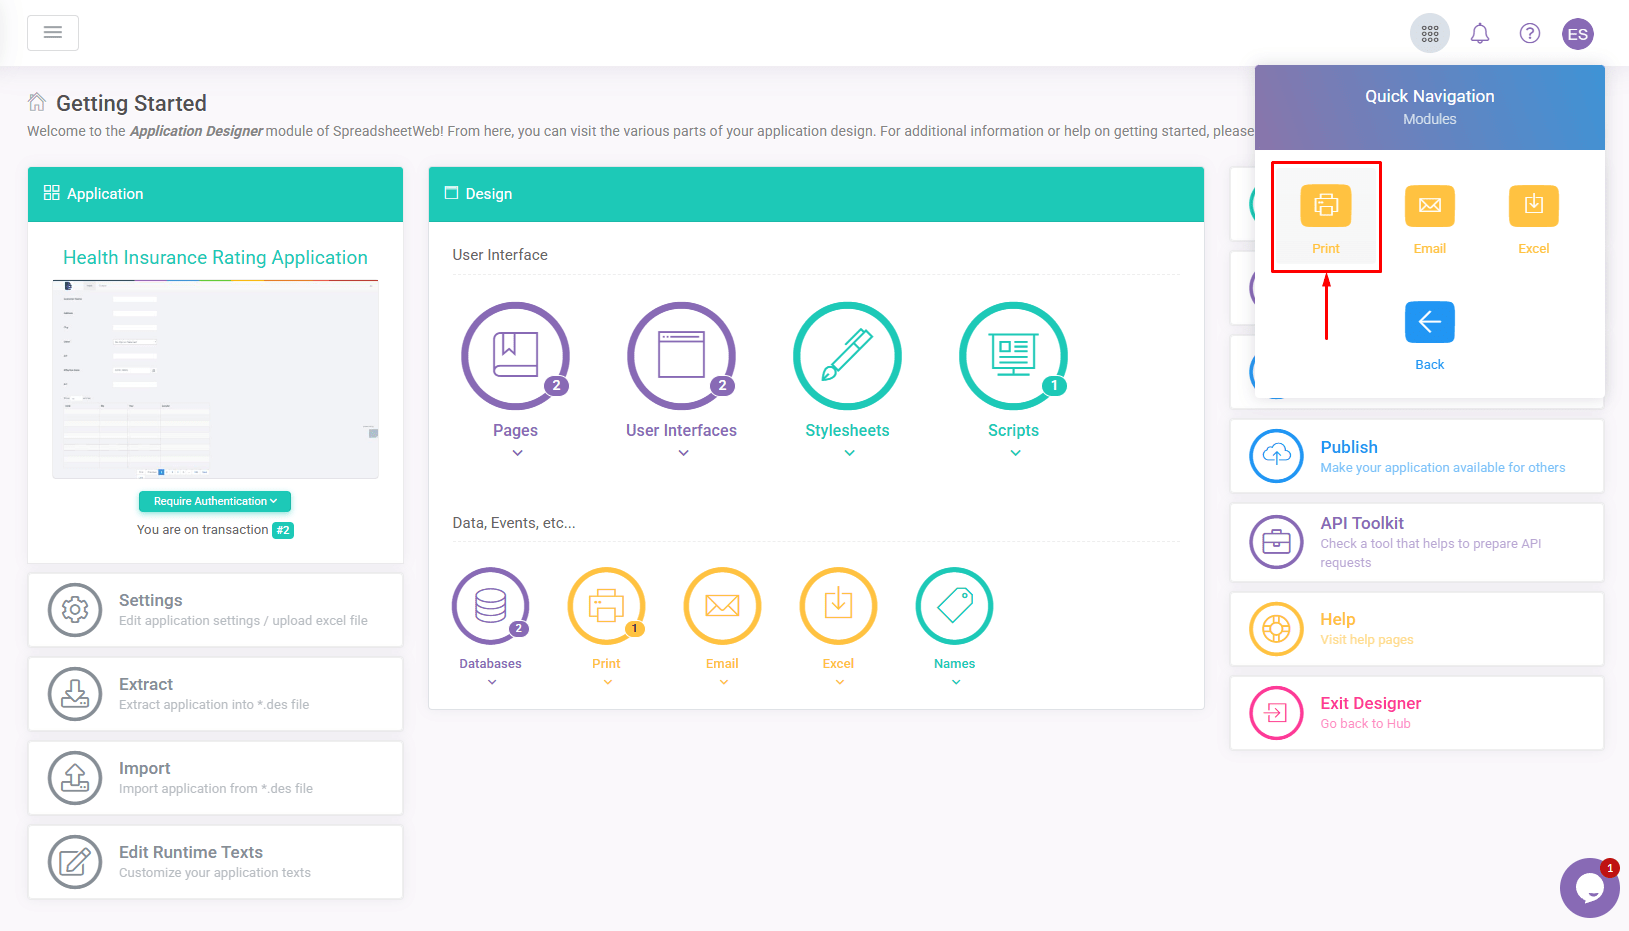
On the next page, click the Print icon to go to the Print Process Designer window.
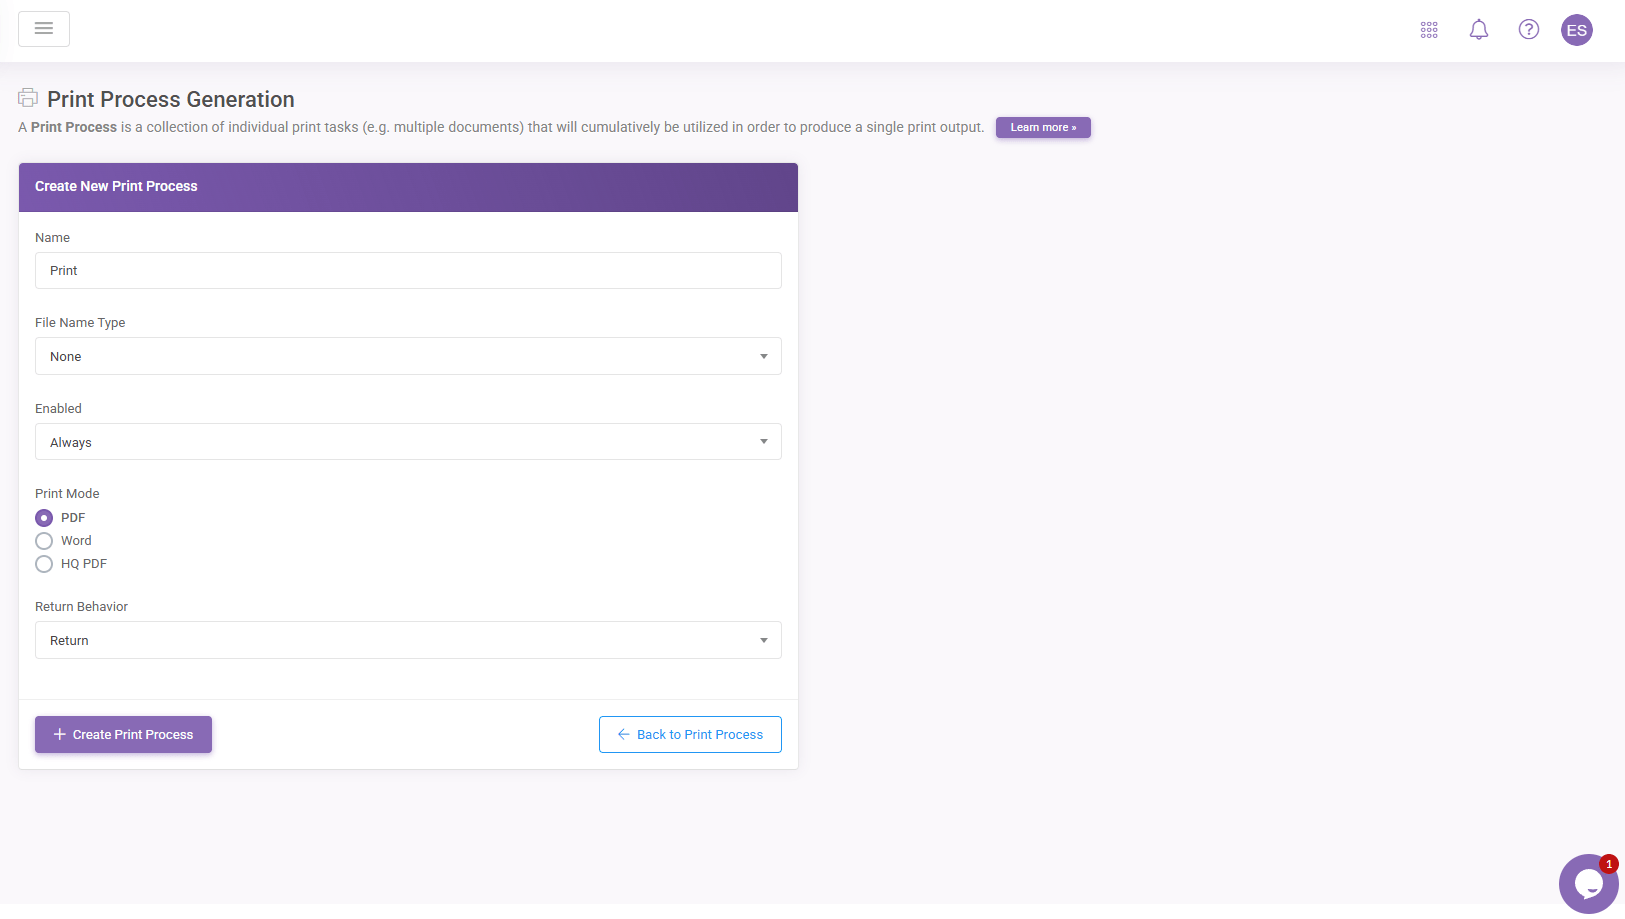
Active processes will be listed under the Print Processes section of this page. To define a new process, click the Add Print Process button. Then, give your print process a Name, select a File Name Type generation method, select from PDF or Word document types for the PrintMode, and finally click the Create Print Process to save this process.
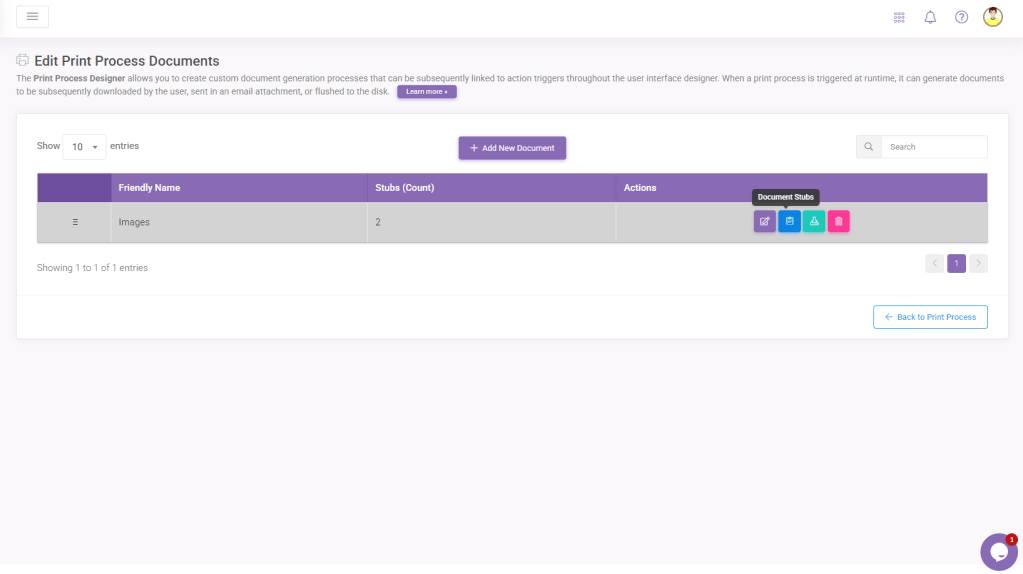
Once you have a new Print Process, you must import your templates into this module. When you hover your mouse over the Print Process you’ve created, you will see the Delete and Documents buttons. You can remove a print process by pressing Delete or upload your templates by going into the Documents.

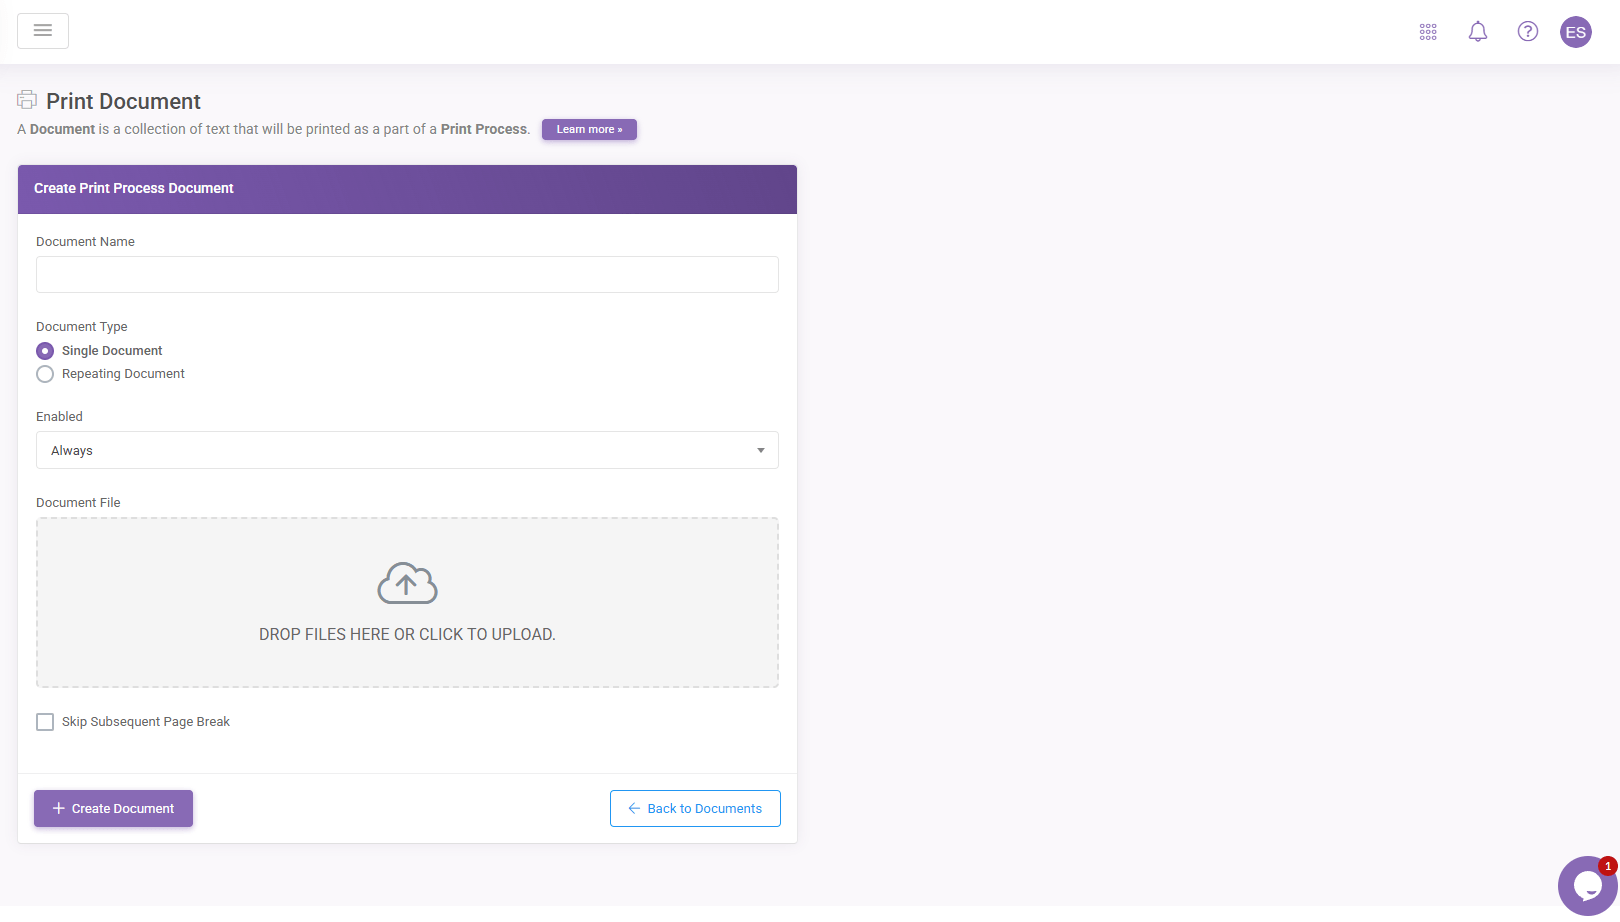
All active templates will be displayed under the Documents table. To add new templates, click the Add button.

In the next screen, give your document a friendly name from the Document Name section (this name will not be displayed anywhere in the application). Then, select your template from the Document File and press Create Documents to add it to the current Print Process. To learn more about the Repeating Document option, see the second part of this tutorial below.
Once the Print Process is created, please hover your mouse over it and click Document Stubs to open the Edit Document Stubs page. Here, you can enable and map each stub to a workbook named ranges. Data will only be populated on the print document if you map a named range to a stub and enable it from the Active column. You can allow multiple stubs at a time using the Active toggle menu, accessible by clicking the blue Toggle text, clicking Active, and pressing Update rows.

Finally, a print action must be tied to an Action button to trigger it. To do this, go to the User Interface Designer in the designer interface and select an Action button. Under the Events section of the action button, you will see the name of the print process. Click the corresponding item to that button and press Submit to save your changes.

Once your application is published, clicking the Action button will trigger the print process and give you the document template in PDF format, with the data populated in the same place as the corresponding stubs.
Inserting Charts Into Print Documents
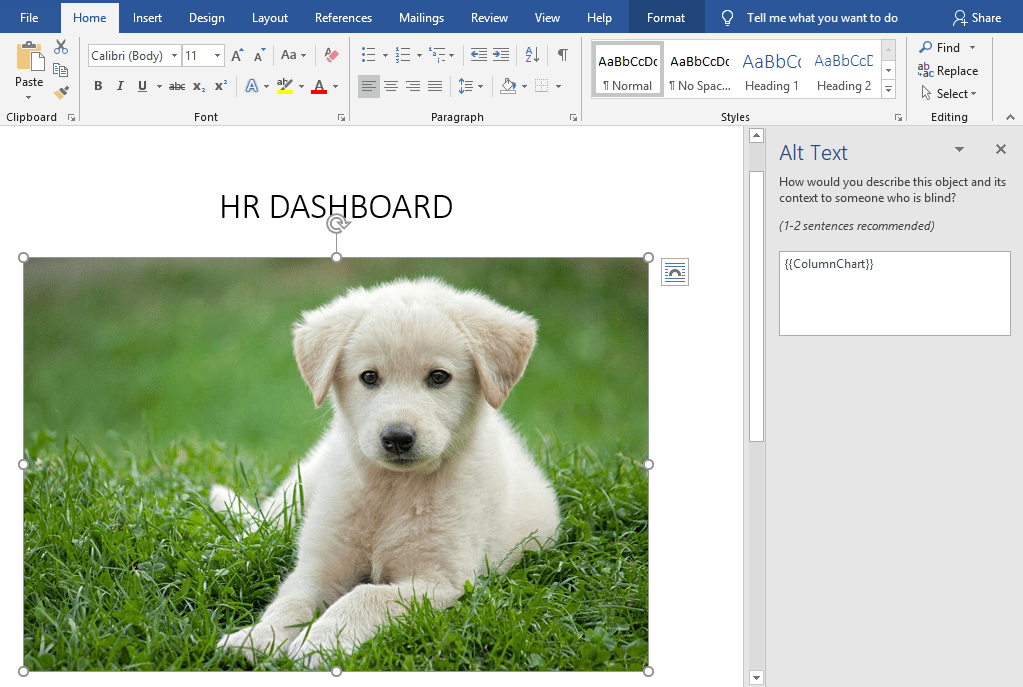
You can insert the visualizations you’ve created in the user interface into a print document. To do this, you need an equal number of images (any images) in the Word document to be used in the print process. You can use any pictures for this, since the only important thing is that the images must be sized proportionally to their user interface counterparts. Adding an Alt Text into images will let you choose from those names when mapping the pictures with the UI visualizations. You can add an Alt Text by right-clicking the image and selecting Edit Alt Text…
The Alt Text must be placed inside double curly braces and cannot contain any special characters or spaces.
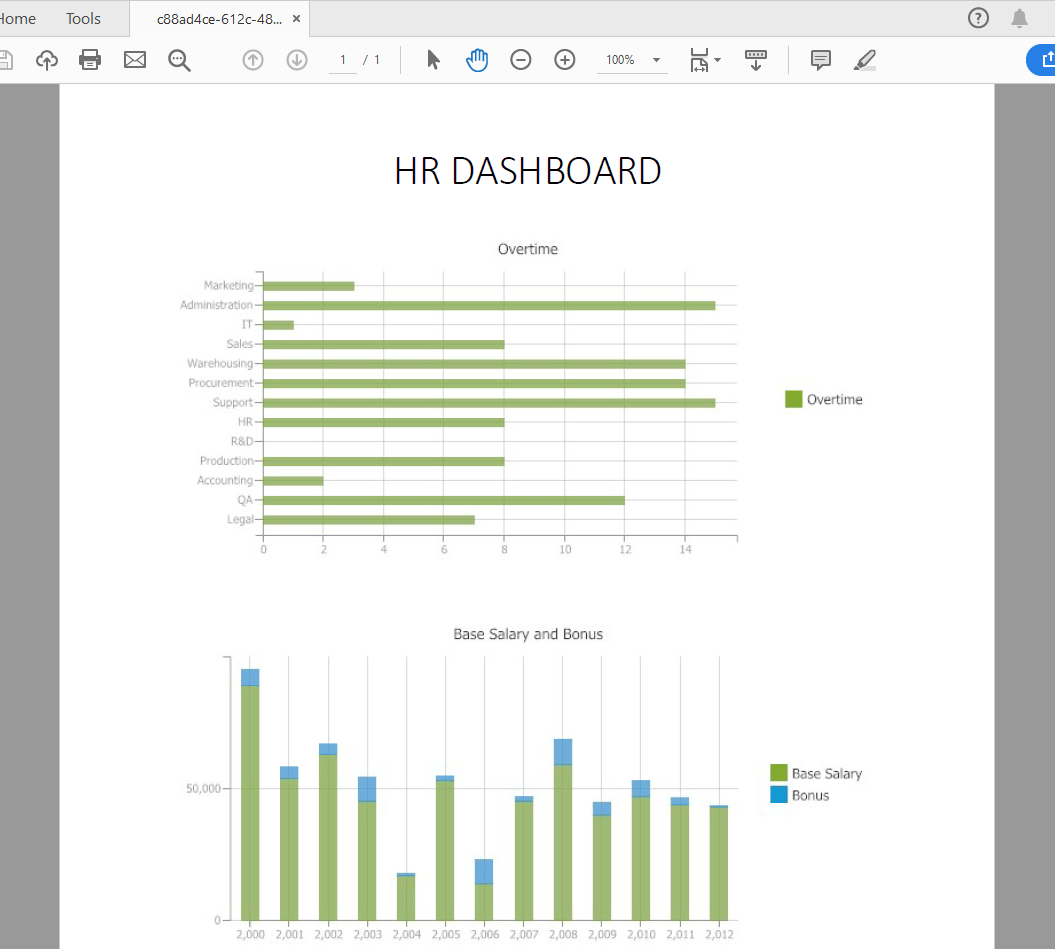
Once you upload the Word document, you will see these image Alt Text labels in the Document Stubs menu. Once you map the photos to the visualizations, the print process will replace the images with the UI visualizations in the export.
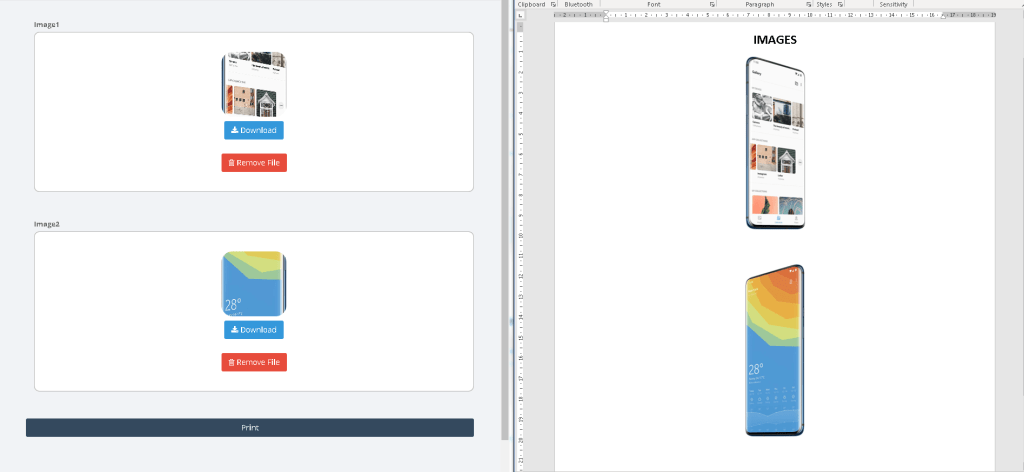
Inserting Images Into Print Documents
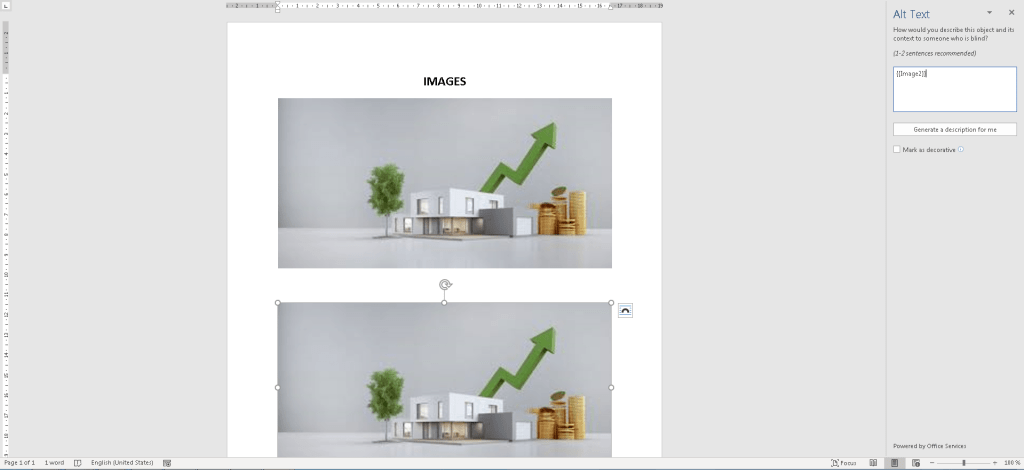
You can add image files to the print file through File Upload controls. To do this, you must enter the named range in double curly braces into the Alt Text property of the placeholder image in the Word template. You can modify the Alt Text property by right-clicking the image and selecting Edit Alt Text.
Next, go to the Documents Stubs and map the named range selection you entered for Alt Text with the prescribed range of the File Upload Control you use in the User Interface. Additionally, you can select a Modification Type (None, CropFill, or CropFit) or enable the Remove Image When Empty checkbox to skip printing that image if nothing was uploaded through the File Upload control. Select Enable Active Toggle in the first column to activate the named range mapping.
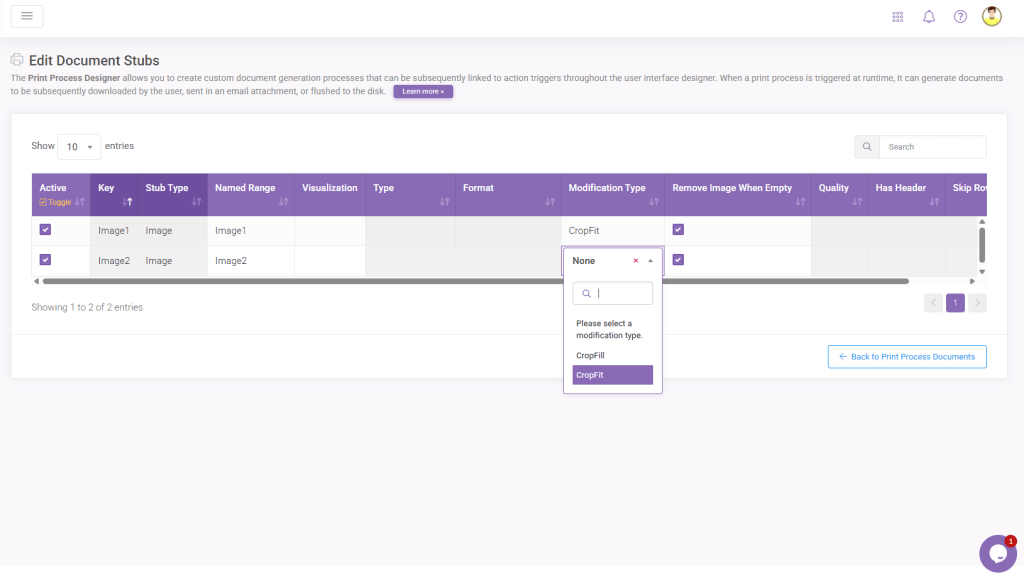
The system will print the images uploaded into the File Upload Control.
Creating Dynamic Tables or Multiple Pages That Are Similar (Recursive Print)
You can select from two options when uploading a new template. The single Document option will create a one-page export from your template, whereas the Repeating Document option will repeat your document as many times until the criteria you set are met. The Repeating Document method is beneficial for scenarios where you’d like to create similar-looking pages where only specific fields differ from one page to the other, such as mass-creating invitations.
Repeating Document
Instead of creating several templates that look similar, you can start one recursive print process and tie the repeating logic to a table named range. This way, you can create one process where the number of pages in the export depend on the outcome of an input or output table.
To create a repeating print process, you must have a template containing the appropriate stubsthat correspond to the columns of your table named range.
The document below will repeat for each row in the data input table that contains data. For example, five entries into the underlying table named range will result in a 5-page PDF export with the corresponding row data printed into the stubs.

The export document will look like this,

Repeating Table
The idea behind creating tables with this method is to build tables that change in size based on the number of rows that contain data. To create a recursive table, your workbook needs a table named range that allows more than one row of data and a Word document that contains column headers as stubs to be used in creating the print process.
You can create a dynamic table structure by inserting a document that only consists of the headers and another with the column stubs. The header document may look like below,

Document Type option under the Edit menu should be set to Single Document. The column stubs document must contain the column field names to be printed inside double curly braces. This section must be added as a separate document, and the rest of the table will be generated from this second document. The table document may look like below,

The Document Type option under the Edit menu should be set to Repeating Document since this document will repeat as many times as necessary to create the dynamic table.
The final table will be drawn based on Skip Row Type selection and how many table rows contain matching data. The resulting table in the export document might look like this,

Printing Static Tables
Users can create a print process featuring a static table in SpreadsheetWEB Hub.
To do this, you must create a grid in the Excel source file and give it a named range first.

Continue the process by creating a .doc file that includes a static table. Next, to incorporate the named range of the grid into the print output, embed it into the row of your choosing within the document. This is achieved by noting down the named range as a placeholder, encased in two sets of curly braces on either side. For example, if the prescribed range of our grid is “Grid1“, it should be written as {{Grid1}} to ensure proper integration.


Remember;
- “Has Header” should skip the first row of the named range (before submitting to the print service) and
- “Skip Row Count” should skip X rows in the Word Document table before populating (shift the index when iterating on the info from the named range).
Inserting Dynamic Images Using URLs
In SpreadsheetWEB, you can embed dynamic images that update based on user selections within the application interface without uploading image files directly. This is achieved by incorporating the URLs of these images into the Excel source file, allowing the no-code platform to fetch the image data from these URLs automatically. To set this up, create a named range designated for the image URLs in the Excel source file.
In this scenario, the interface incorporates URLs for various images alongside options for information selection. When a specific option is selected, the corresponding image is displayed within the interface, creating a dynamic and interactive user experience.

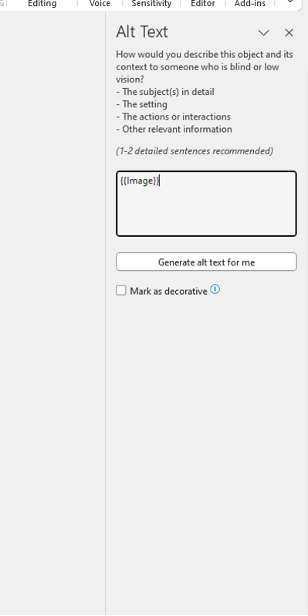
Simply insert a placeholder image into your document to facilitate dynamic images in a print process. Afterward, right-click on this image and choose the option to edit the alt text.

Upload it to the SpreadsheetWEB Hub as a print document.

Remember to select the correct stubs on the Edit Document Stubs page.