


This video will show you how to create Print processes for Word or PDF export in SpreadsheetWEB applications. You can create a template to be used in a Print process, which can then be triggered through buttons in the user interface. You can use a Word document to generate the template, and tie any number of Print processes to an Action Button.
To create a new print process, click the Add Print Process button.


This will create a new Print process once you define a name, and press the Create Print Process button. This will act as the baseline for the print process generation and will be added to the list of Print processes that can be used as an Action Button event.
You can use stubs in your Word document template to insert any named ranges from your workbook into the resulting document. This will result in the calculated values to be printed where a document stub is entered. You can use stubs by entering the named range inside double curly braces, like {{ HelloWorld }}. The document stub name is the value inside the double curly brackets – in this example, the stub’s name is HelloWorld.
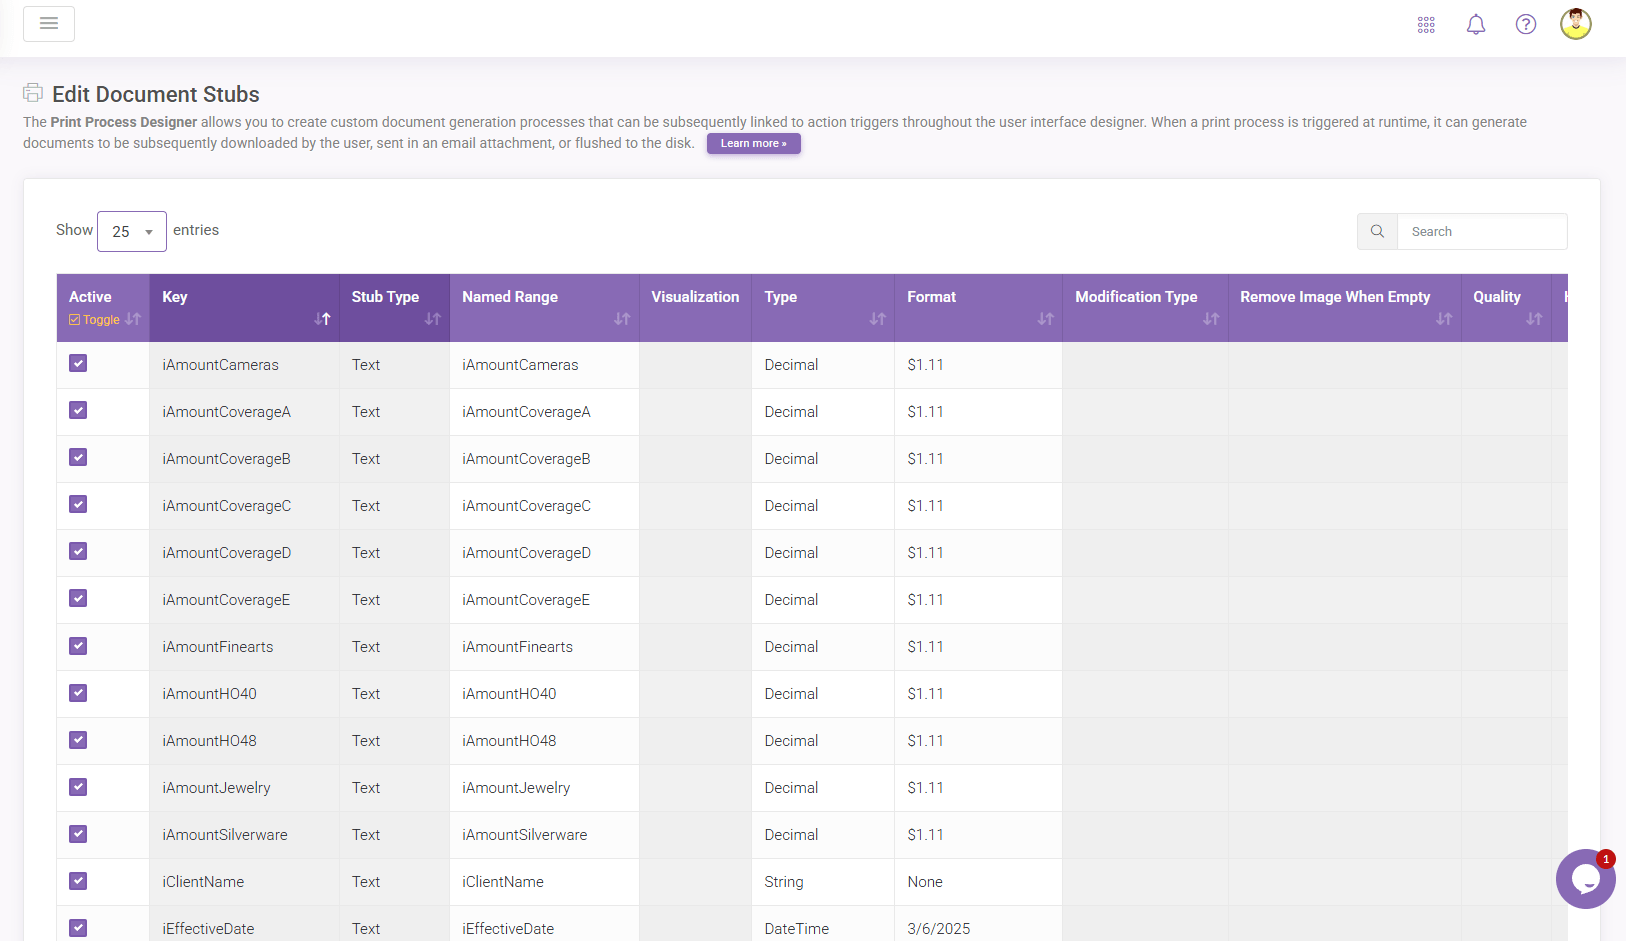
Clicking Edit Document Stubs next to an existing document under the Edit Document page will allow you to configure the mapping between the document stubs and their corresponding named range values. Each detected document stub from the Word template will occupy a row on the corresponding grid.

You can assign any number of Print processes to a single button by selecting them from the Events selection of the button in the User Interface Designer. When the button is pressed, all active print processes will be triggered.

