Search Knowledge Base by Keyword
When making data and formula changes in an already published application, we recommend making those changes in the underlying workbook, instead of doing so on another version of the file. This way, you can ensure that the named ranges and other necessary fields will remain in the workbook, and you will only need to account for the fields that were changed.
To update the underlying workbook of a web application,
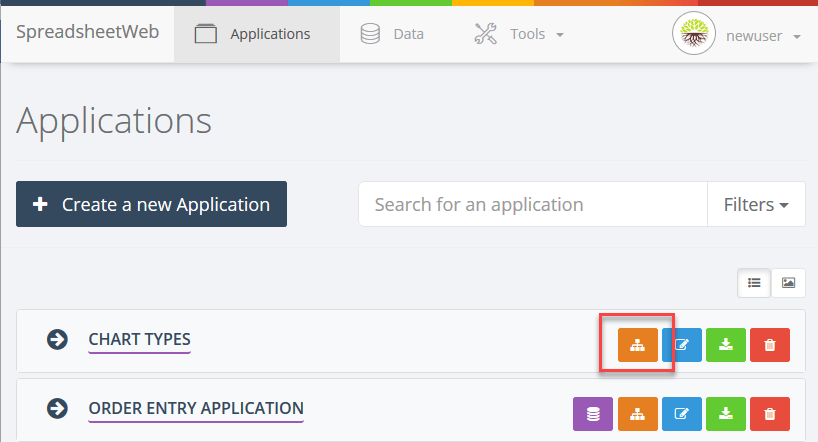
1. Click the green Download Excel Model button next to the application name when you’re on the Applications page.

2. Make your changes in that workbook and save it. Then, click the orange Edit Designer Application button next to the application name when you’re on the Applications page to go into the designer interface.
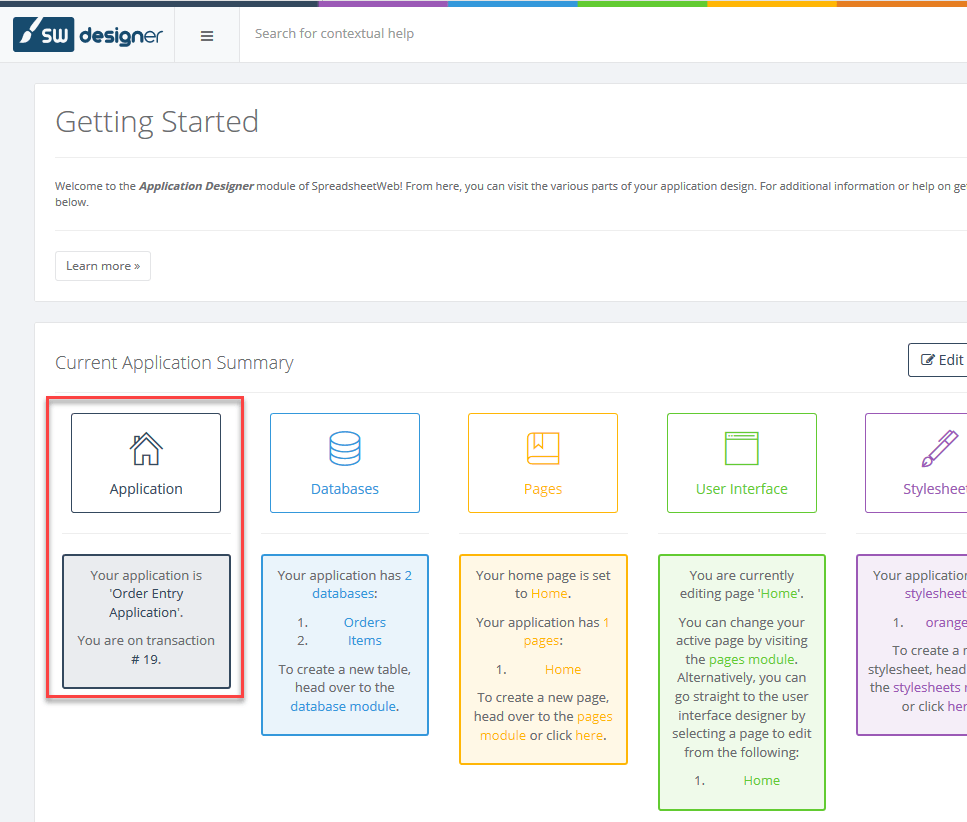
3. On the designer interface, go to the Application menu.
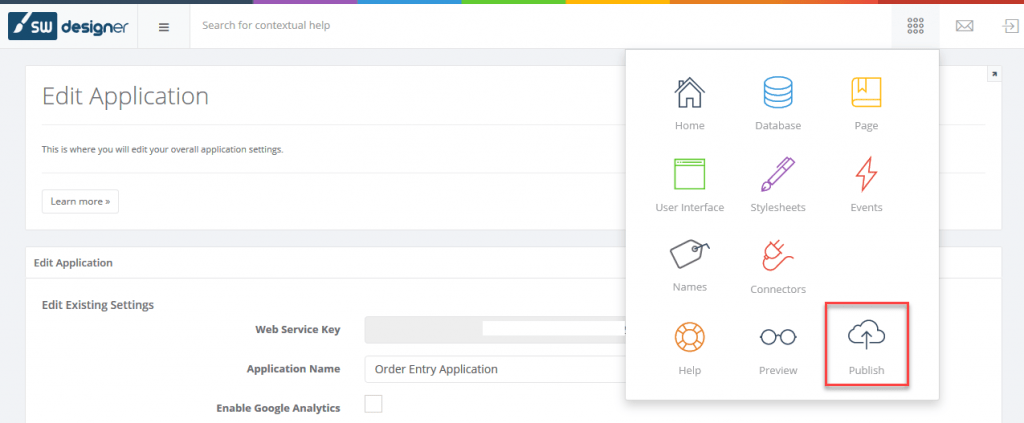
4. Upload the updated workbook into the Spreadsheet File box, and press Update.

5. Finally, publish the application by pressing the dial menu (9 dots on the top right corner), and select Publish.
Please note that changes other than those made to only data and formulas might also require you to make necessary edits in the Designer Interface (i.e. adding new controls for new input fields, or adding more fields to be saved).